First step in the Citrix Provisioning Services process is to get the PVS 7.6 server installed. To do this complete the following:
Citrix PVS 7.6 Install – Part 1: Installing PVS Server
This is part 1 in the Citrix Provisioning Services 7.6 installation and configuration guide. In this article we install the PVS server on a Windows 2012 R2 box.
Quick Links
Here are the links to each of the articles that make up this series:
- Citrix PVS 7.6 Install & Configuration Guide – Introduction
- Citrix PVS 7.6 Install & Configuration Guide – Part 1: Installing PVS Server
- Citrix PVS 7.6 Install & Configuration Guide – Part 2: Configuring PVS Server
- Citrix PVS 7.6 Install & Configuration Guide – Part 3: Configuring DHCP for Citrix PVS PXE
- Citrix PVS 7.6 Install & Configuration Guide – Part 4: Creating a Capture VM
- Citrix PVS 7.6 Install & Configuration Guide – Part 5: Group Policy for PVS Target Devices
- Citrix PVS 7.6 Install & Configuration Guide – Part 6: Preparing for Image Capture
- Citrix PVS 7.6 Install & Configuration Guide – Part 7: Capturing the PVS Image
- Citrix PVS 7.6 Install & Configuration Guide – Part 8: Installing Virtual Delivery Agent on the PVS Image
- Citrix PVS 7.6 Install & Configuration Guide – Part 9: Preparing for Production use
- Citrix PVS 7.6 Install & Configuration Guide – Part 10: Creating new PVS Target Devices
- Citrix PVS 7.6 Install & Configuration Guide – Part 11: Creating a PVS-Enabled Machine Catalog
- Citrix PVS 7.6 Install & Configuration Guide – Part 12: Creating a Delivery Group
- Citrix PVS 7.6 Install & Configuration Guide – Part 13: Testing Published Applications
Step-by-Step Guide
1. Log in as an administrator onto the server that we will be using as the Citrix PVS 7.6 Server
In my instance this is WP-CTXPVS-V01. This is where we will be installing Citrix Provisioning Services and the PVS Console. In addition, this is the server that hosts and stores all of the captured PVS images, so you will need additional storage to be able to store these images
2. Insert the Citrix Provisioning Services 7.6 installation media
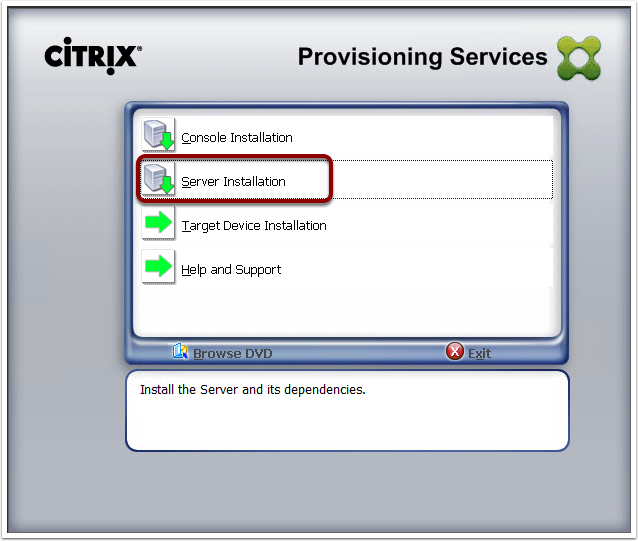
3. From the Installation Media menu, click Server Installation to commence the Citrix PVS 7.6 install
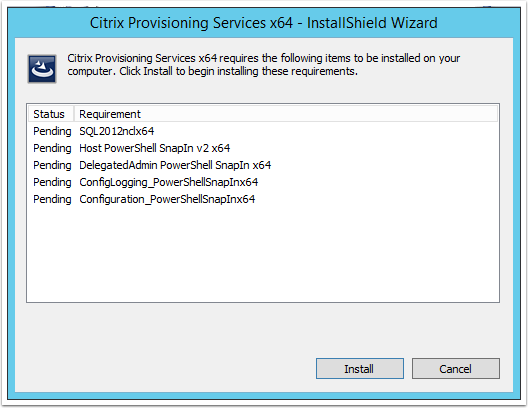
4. Click Install to commence the installation of the pre-requistes
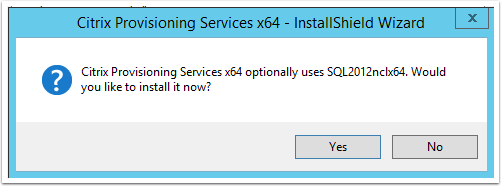
5. Whe prompted to install the 64-bit SQL 2012 Native Client click Yes
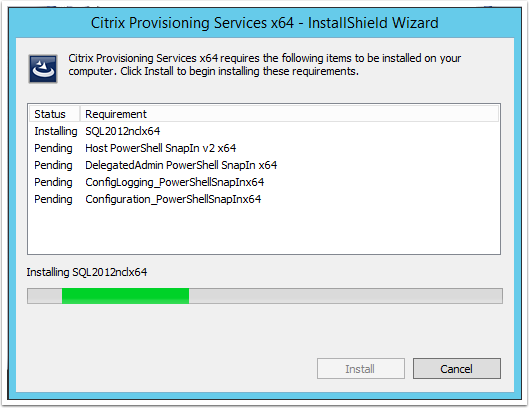
6. The Citrix PVS installer will now install all of the pre-requisites required for PVS 7.6
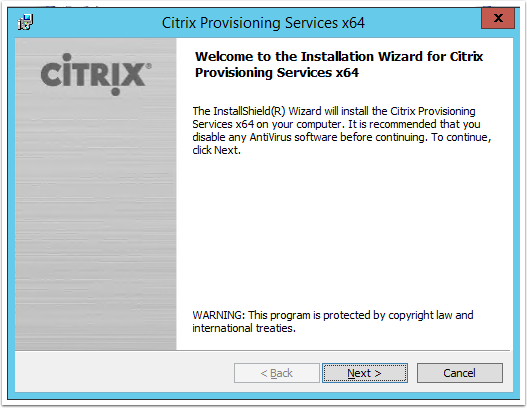
7. Once the pre-requistes have been insalled, the Citrix PVS installer window will appear. From here, click Next
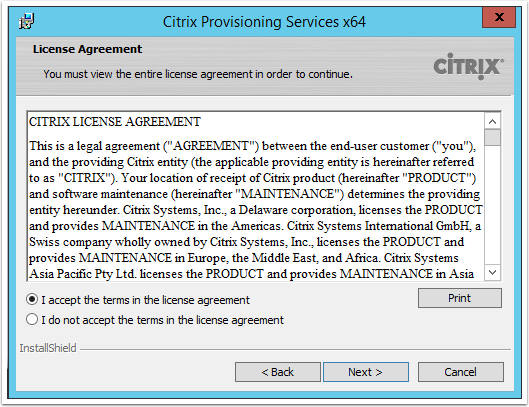
8. Select I agree and click Next
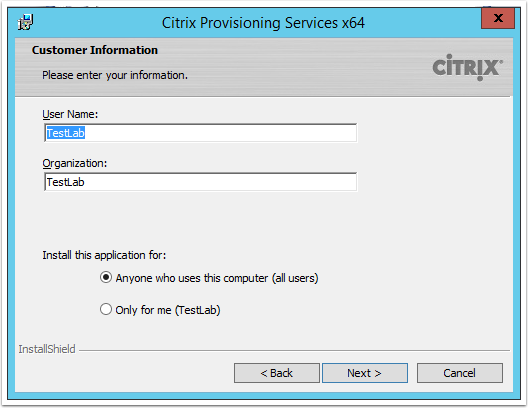
9. Enter the appropriate details and click Next
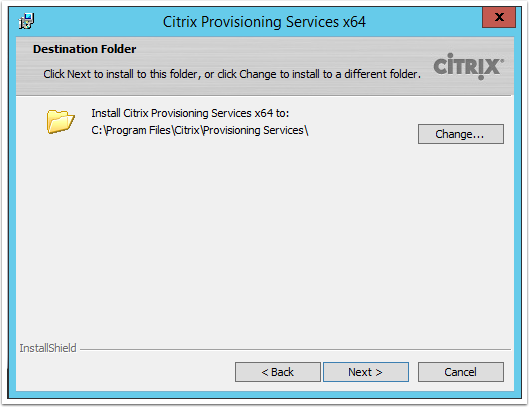
10. Click Next
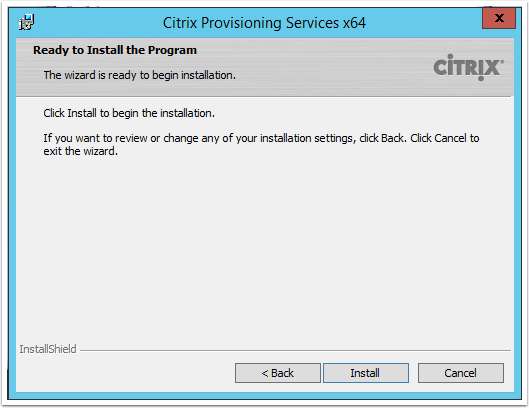
11. Click Install to commence the installation
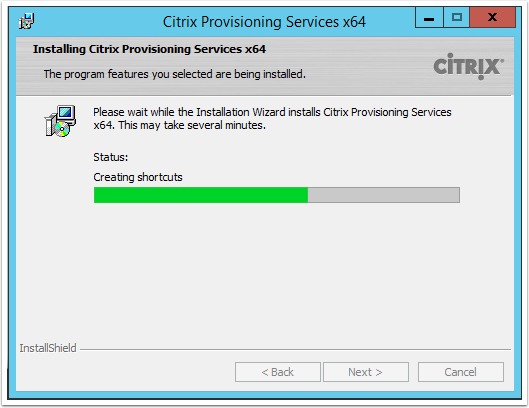
12. Citrix Provisioning Services 7.6 will now install
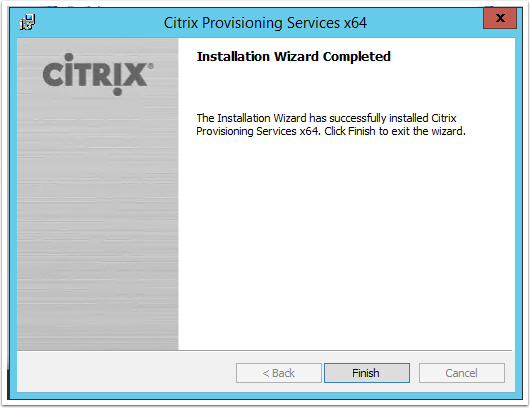
13. Click Finish
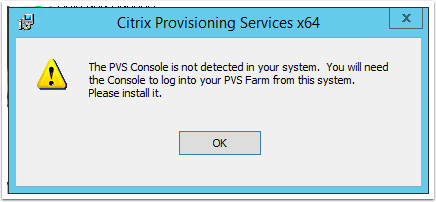
14. Click OK to the warning message
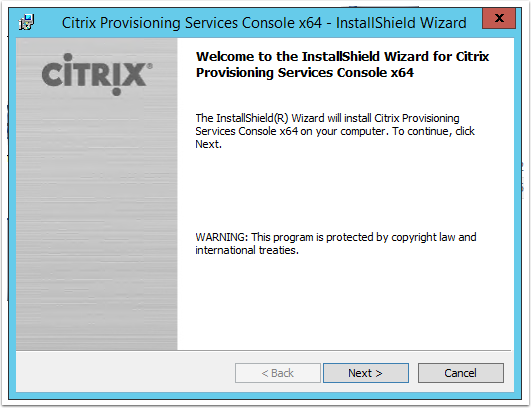
15. From the Citrix PVS Console installer, click Next
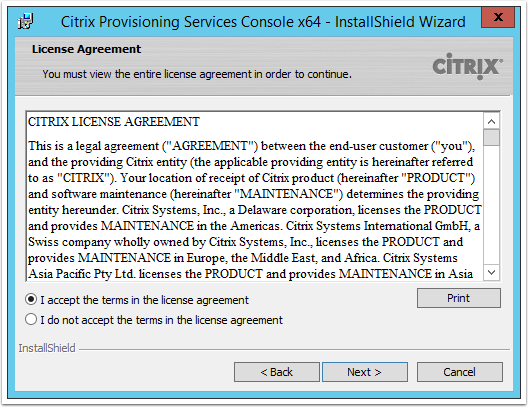
16. Select I agree and click Next
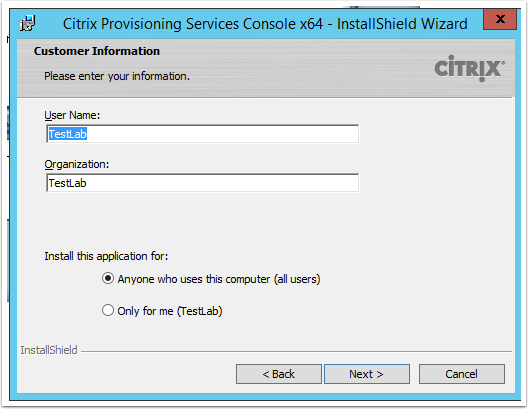
17. Enter the appropriate details and click Next
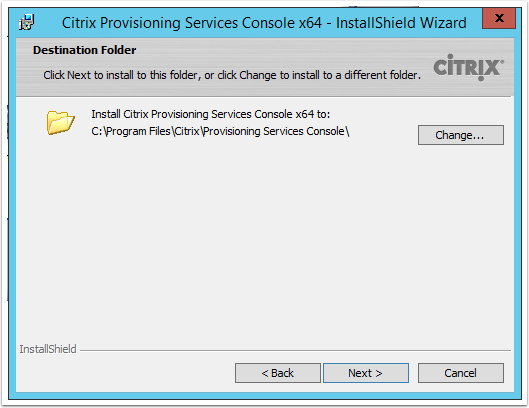
18. Click Next
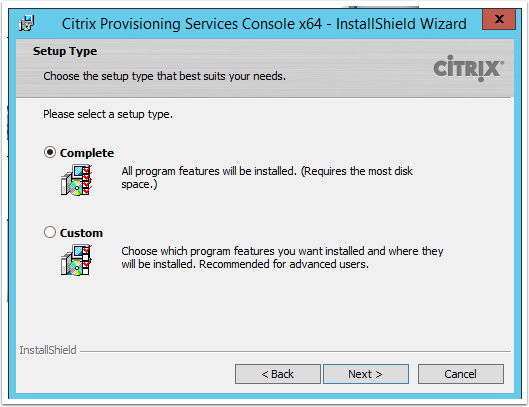
19. Select Complete and click Next
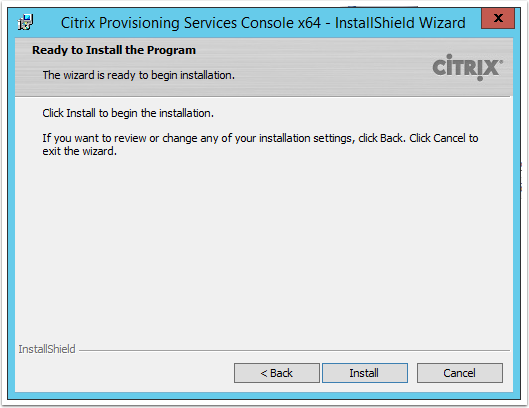
20. Click Install
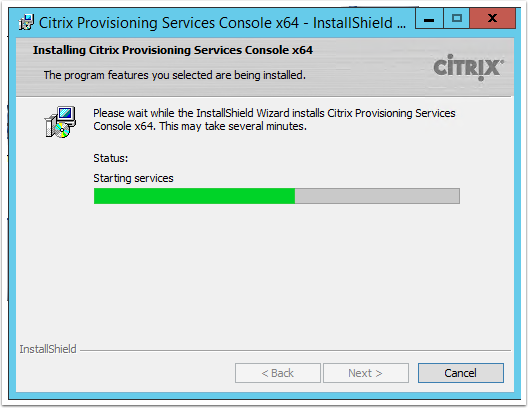
21. The Citrix PVS 7.6 console will now be installed
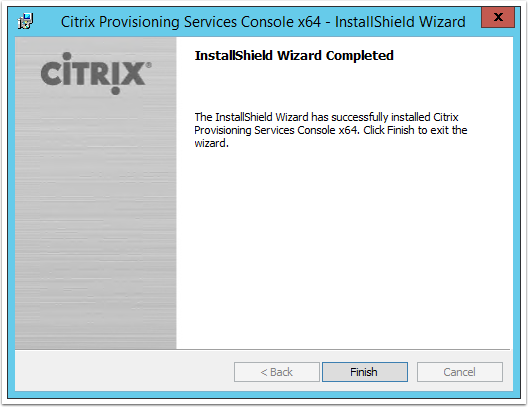
22. Click Finish
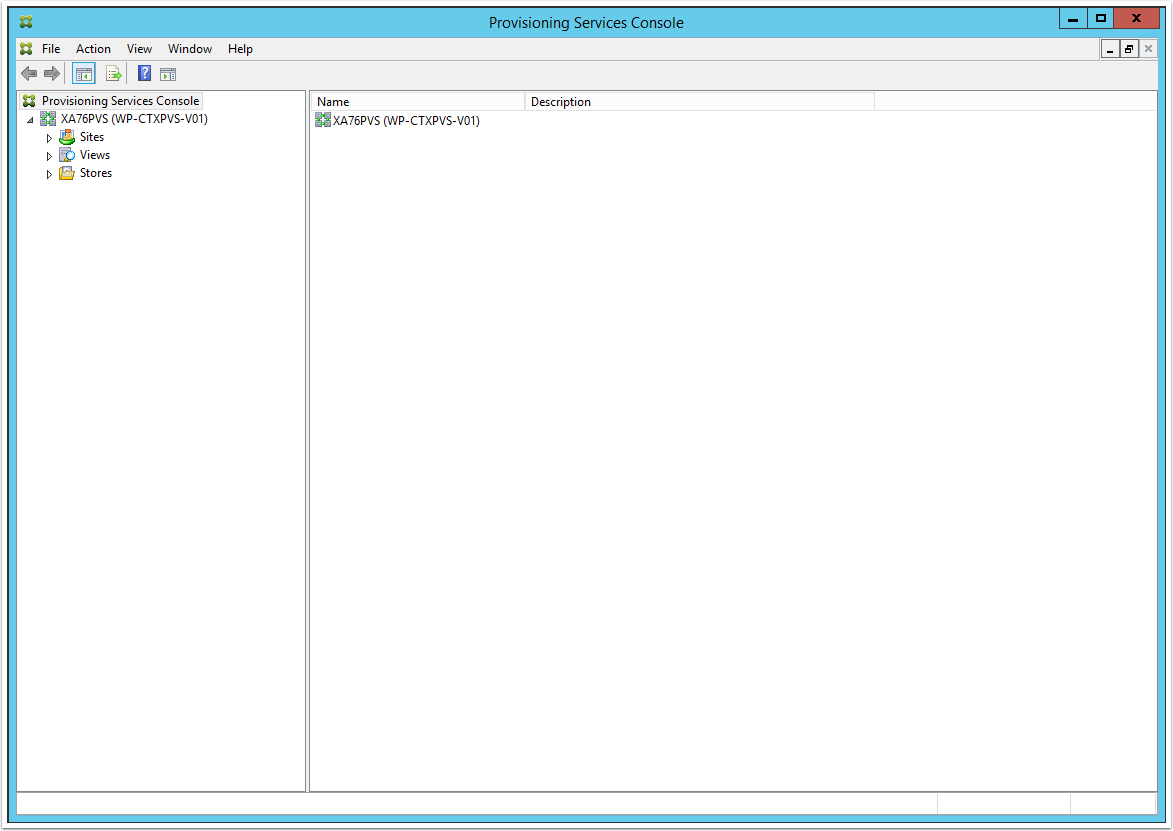
23. Launch the console and connect to "localhost" to ensure the Citrix PVS 7.6 installation was successful
Next article…
The next article coming up in the series is: Citrix PVS 7.6 Install & Configuration Guide – Part 2: Configuring PVS Server.
Hi, Thank you so much for the article, it really helped me in implementing it in our environment!
Great article! I’m installing PVS 7.9 in a home lab for the exam. Very helpful in the PVS side of things since I don’t work with PVS in the work environment.
Thanks June, glad it has helped!
June how on earth did you get 7.9 to install? It insists on a SQL server, it does not offer the option to install express.
Nicely documented!!!!!!!!!! Thanks a lot for sharing
excellent Article.