We are now ready to capture VM and create a PVS image that will then be streamed to multiple target devices. To capture a PVS image, complete these steps:
Citrix PVS 7.6 Install – Part 7: Capturing the PVS Image
This is part 7 in the Citrix Provisioning Services 7.6 installation and configuration guide. In this article we be capturing the VM we have been working on so that we can create a new PVS image.
Quick Links
Here are the links to each of the articles that make up this series:
- Citrix PVS 7.6 Install & Configuration Guide – Introduction
- Citrix PVS 7.6 Install & Configuration Guide – Part 1: Installing PVS Server
- Citrix PVS 7.6 Install & Configuration Guide – Part 2: Configuring PVS Server
- Citrix PVS 7.6 Install & Configuration Guide – Part 3: Configuring DHCP for Citrix PVS PXE
- Citrix PVS 7.6 Install & Configuration Guide – Part 4: Creating a Capture VM
- Citrix PVS 7.6 Install & Configuration Guide – Part 5: Group Policy for PVS Target Devices
- Citrix PVS 7.6 Install & Configuration Guide – Part 6: Preparing for Image Capture
- Citrix PVS 7.6 Install & Configuration Guide – Part 7: Capturing the PVS Image
- Citrix PVS 7.6 Install & Configuration Guide – Part 8: Installing Virtual Delivery Agent on the PVS Image
- Citrix PVS 7.6 Install & Configuration Guide – Part 9: Preparing for Production use
- Citrix PVS 7.6 Install & Configuration Guide – Part 10: Creating new PVS Target Devices
- Citrix PVS 7.6 Install & Configuration Guide – Part 11: Creating a PVS-Enabled Machine Catalog
- Citrix PVS 7.6 Install & Configuration Guide – Part 12: Creating a Delivery Group
- Citrix PVS 7.6 Install & Configuration Guide – Part 13: Testing Published Applications
Step-by-Step Guide
1. Before capturing the image, we need to boot the PVS Capture VM (i.e. WP-CTXAPP-V02) from PXE and not the hard drive
2. From the vSphere Client, with WP-CTXAPP-V02 powered off, right-click the VM and select Edit Settings
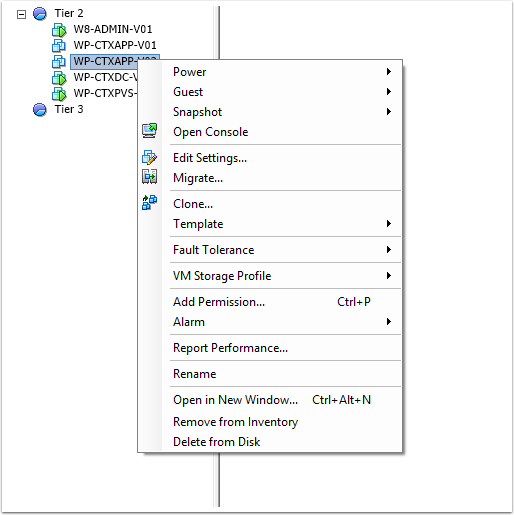
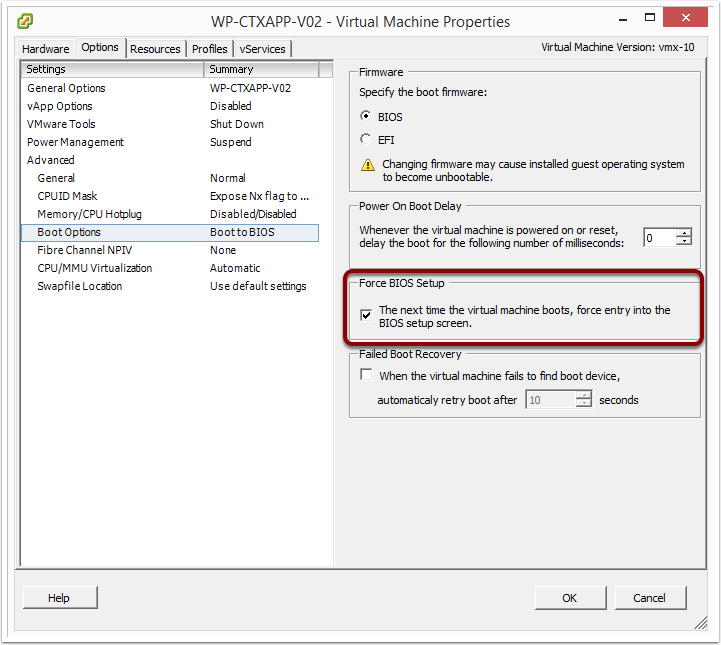
3. From the Options tab, navigate to Advanced >> Boot Options and tick "The next time the virtual machibe boots, force entry into the BIOS setup screen"
This will allow us to configure the boot order for the VM and ensure PXE boot is the first boot device as we will no longer be booting from hard disk
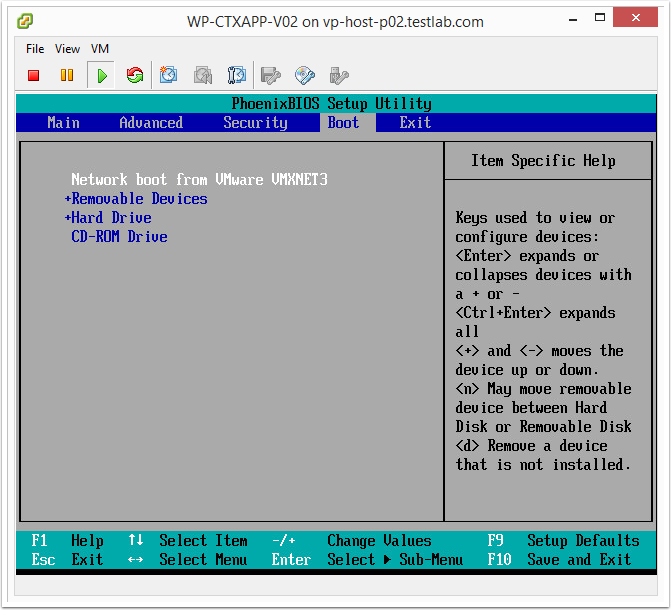
4. Power on the VM and the BIOS setup will appear
5. From the Boot menu, move Network Boot to be the first boot device
6. Exit the BIOS and save the changes made
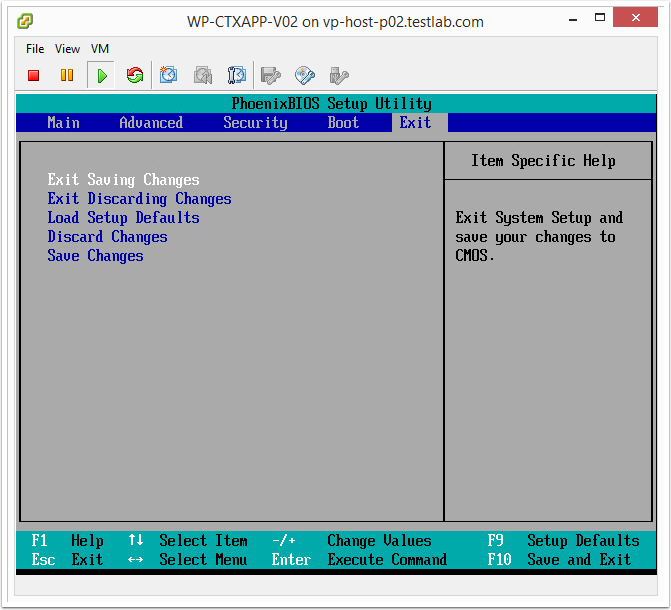
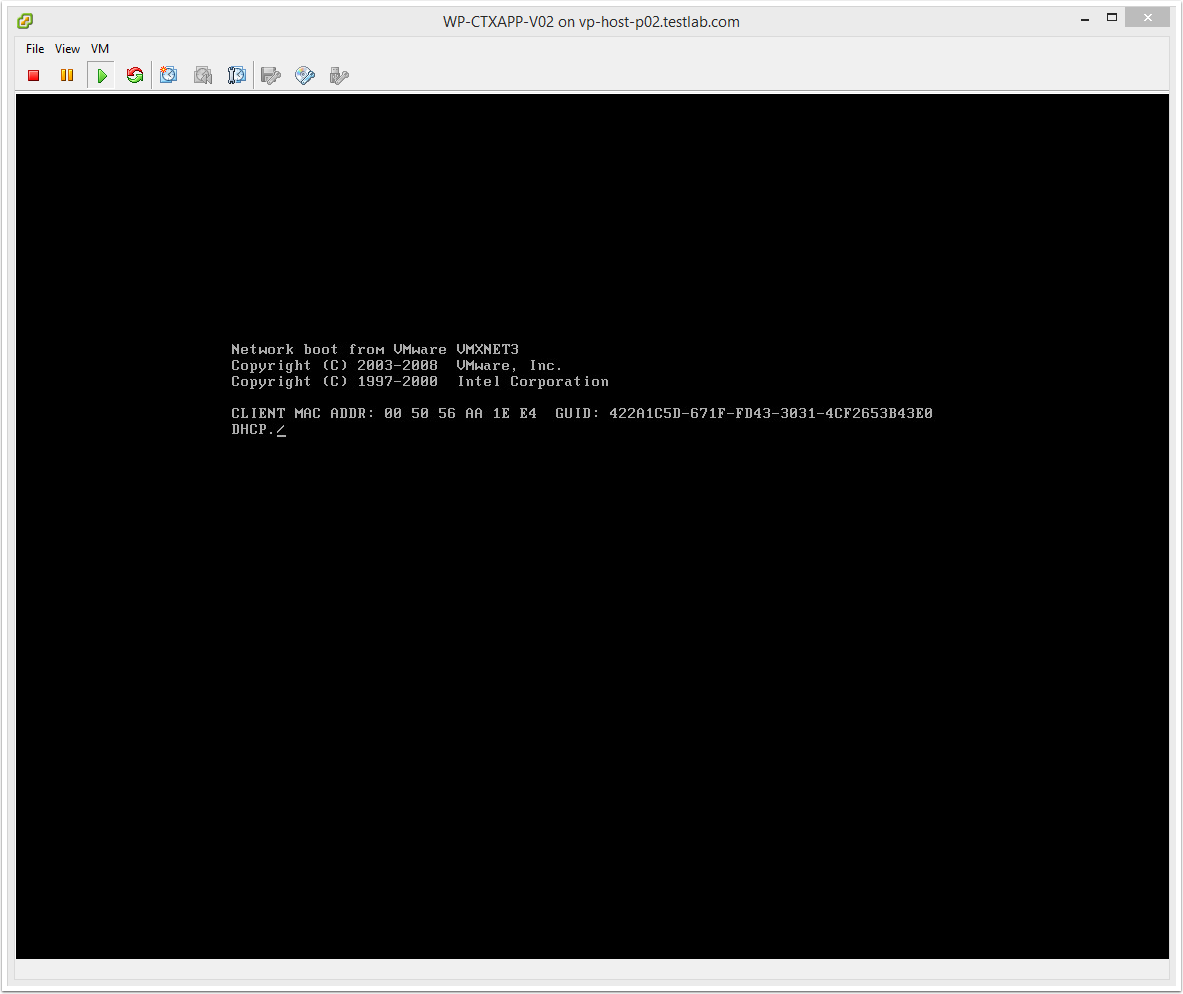
7. The capture VM will reboot, get an IP address from the DHCP server and then contact the Citrix PVS server to commence the PXE boot
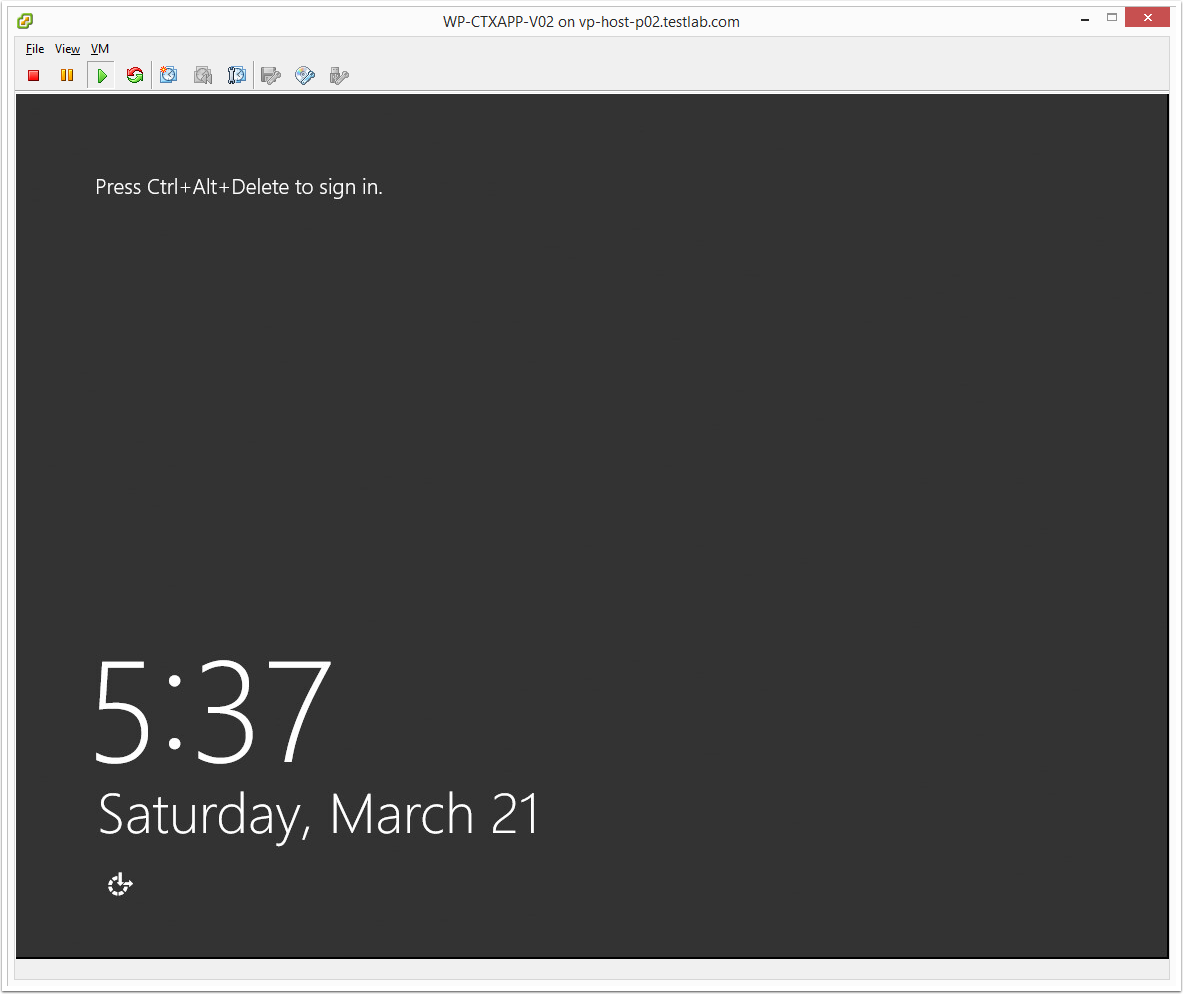
8. Once Windows has completed loading, log in as an administrator
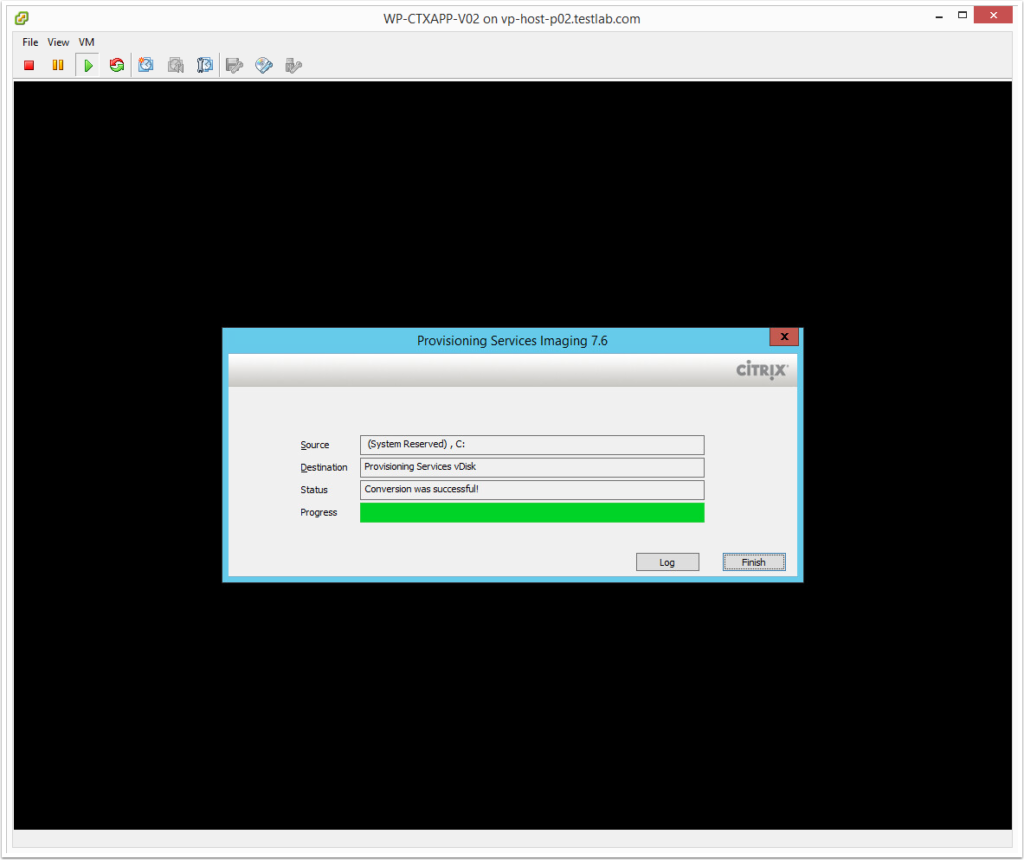
9. Once you have logged in, the Provisioning Services Imaging will automatically commence the capturing process using the settings configured previously

10. Once completed, click Finish
11. Reboot the VM and this time it should automatically PXE boot into the PVS image
Note: At this stage the PVS image is in Private Mode. This means that any changes you make to the image will be retained once you power off or reboot the VM. We will need to keep the image in private mode as we still need to install the Citrix Virtual Delivery Agent (VDA). This will be covered in the next part of this series.
Next article…
The next article coming up in the series is: Citrix PVS 7.6 Install & Configuration Guide – Part 8: Installing Virtual Delivery Agent on the PVS Image.
Great guide so far. Though the reboot from ISO in my case failed. Giving me the following error “An operating system wasn’t found. Try disconnecting any drives that don’t contain an operating system” I could only get it moving by removing the second drive (“D”) from my Image. Not sure what the complication will be if any? Waiting for build to finish.
Hi LittleB69,
Hope you got it resolved. If you have any issues, let me know
Thanks
Luca
Hi Luca,
I am kind of confused in the step where you delete the C drive. You are doing it on the original image but I was told by my friend that you clone the original VM were the target device is installed and then install the VDA on the cloned image.
From the point where the Target device is installed to get the VDA Install and booting I am finding it difficult to get the concept on what step you put the Target device in maintenace mode or for that matter the vdisk in pvt mode to install the VDA. Is there a better article of yours that can be followed. As, from Part 8 to the next step it is confusing.
I am having trouble with this step. So far, on Windows 8.1 and Windows 10, I have gotten all the way through what appears to be a successful capture. When the machine boots from PXE after the capture, the VM will show the Windows OS loading screen, freeze, and proceed to do nothing indefinitely. I have left it over a weekend just to make sure. I don’t really know what I am doing wrong here.
Hi William,
What hypervisor are you running this on? Doing a bit of a Google search seems to return results that others are having a similar issue using vSphere 5.5. One solution mentioned if your VM is hardware version 8 and not 9, that might solve the problem.
Try do some Googling, it might help you resolve the issue.
Good Luck!
Luca
As I mentioned I removed the D: drive and there was was no problems after that. It worked like a charm and I could follow your guide the rest of the way. Thanks for you effort in making it.
Awesome! Glad that everything is working well. Thanks
i think you forgot to mention the part were you have to configure the device to boot from vdisk. unless i missed that somewhere!
Hi Roy, that is done in part 6 of the guide. Thanks Luca
Excellent guide so far, i have got far as this. after reboot i get an IP however screen is stuck on Windows splash screen (Windows 7). I have tried changing the NIC card from VMXNET3 to E1000, i’m also using VM version 8 in ESXI 5.1. Any ideas?
Hi, glad to here that it has helped you! Sorry, but without investigating further it is hard to tell what the issue might be. I have only ever used PVS with server OS so it might be a caveat of using Windows 7. Try using Windows 8.1 or 10 or preferably use a server OS. Thanks Luca
hi, thanks for guide.could you please explain me, is that every client vm has to be installed with target device installation to be a part of pvs machines. And can i use existing vdisk for target devices during target device installation
Hi Pranita,
Target Device Installation is to create a new image (i.e. capture an image as a vdisk) which will then be used to boot your target devices. If you already have an existing vdisk then you don’t need to capture a new image and therefore can use your existing vdisk on the target devices you want to use that image for.
Hope that answers your question.
Thanks
Hi Luca
I am fine until the process of installing the VDA. My question is should I install the VDA on the same VM (WP-CTXAPP-V02) or should I clone the VM and should I use that to PXE boot? I have not been successful in getting past this step.
Once I install the VDA say in this same VM (WP-CTXAPP-V02 -using your naming convention) which is in private mode then you are saying delete the C drive. One of my friend tells me, clone the VM and then use that VM to install the VDA and once the VDA is intalled then remove the C drive. Then use that cloned VM which has no C drive to use it as a template.
Even Citrix support does not know this process and are not providing a proper step by step info, but I really appreciate your reply to this, as I am stuck at this point.