The newly captured image is currently set to Private Mode by default. This means that any changes that are made to the image on the target device are written back to the image on reboot or shutdown of the target device. This configuration now allows us to install the Virtual Delivery Agent (VDA) so that the target devices can be used as Citrix Application servers. To install the VDA, complete these steps:
Citrix PVS 7.6 Install – Part 8: Installing Virtual Delivery Agent on the PVS Image
This is part 8 in the Citrix Provisioning Services 7.6 installation and configuration guide. In this article we install the Citrix Virtual Delivery Agent (VDA) on the newly captured image.
Quick Links
Here are the links to each of the articles that make up this series:
- Citrix PVS 7.6 Install & Configuration Guide – Introduction
- Citrix PVS 7.6 Install & Configuration Guide – Part 1: Installing PVS Server
- Citrix PVS 7.6 Install & Configuration Guide – Part 2: Configuring PVS Server
- Citrix PVS 7.6 Install & Configuration Guide – Part 3: Configuring DHCP for Citrix PVS PXE
- Citrix PVS 7.6 Install & Configuration Guide – Part 4: Creating a Capture VM
- Citrix PVS 7.6 Install & Configuration Guide – Part 5: Group Policy for PVS Target Devices
- Citrix PVS 7.6 Install & Configuration Guide – Part 6: Preparing for Image Capture
- Citrix PVS 7.6 Install & Configuration Guide – Part 7: Capturing the PVS Image
- Citrix PVS 7.6 Install & Configuration Guide – Part 8: Installing Virtual Delivery Agent on the PVS Image
- Citrix PVS 7.6 Install & Configuration Guide – Part 9: Preparing for Production use
- Citrix PVS 7.6 Install & Configuration Guide – Part 10: Creating new PVS Target Devices
- Citrix PVS 7.6 Install & Configuration Guide – Part 11: Creating a PVS-Enabled Machine Catalog
- Citrix PVS 7.6 Install & Configuration Guide – Part 12: Creating a Delivery Group
- Citrix PVS 7.6 Install & Configuration Guide – Part 13: Testing Published Applications
Step-by-Step Guide
1. At this stage, the PVS Capture VM (i.e. WP-CTXAPP-V02) should have been restarted, PXE booted and loaded the PVS Image
2. Log into the server as an administrator
3. Insert the Citrix XenApp 7.6 installation media
4. From the installation media, commence the XenApp installation
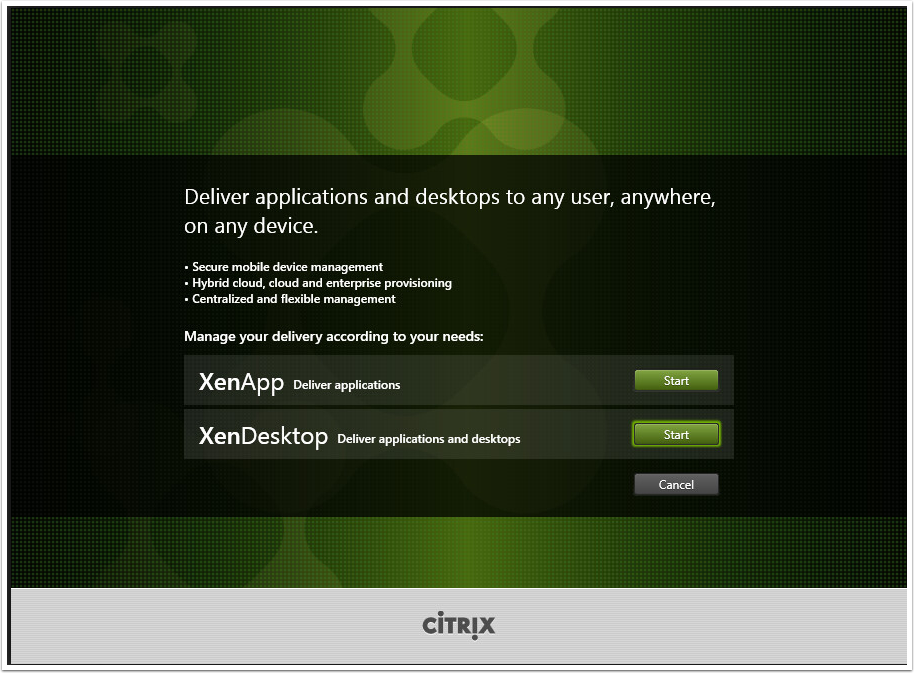
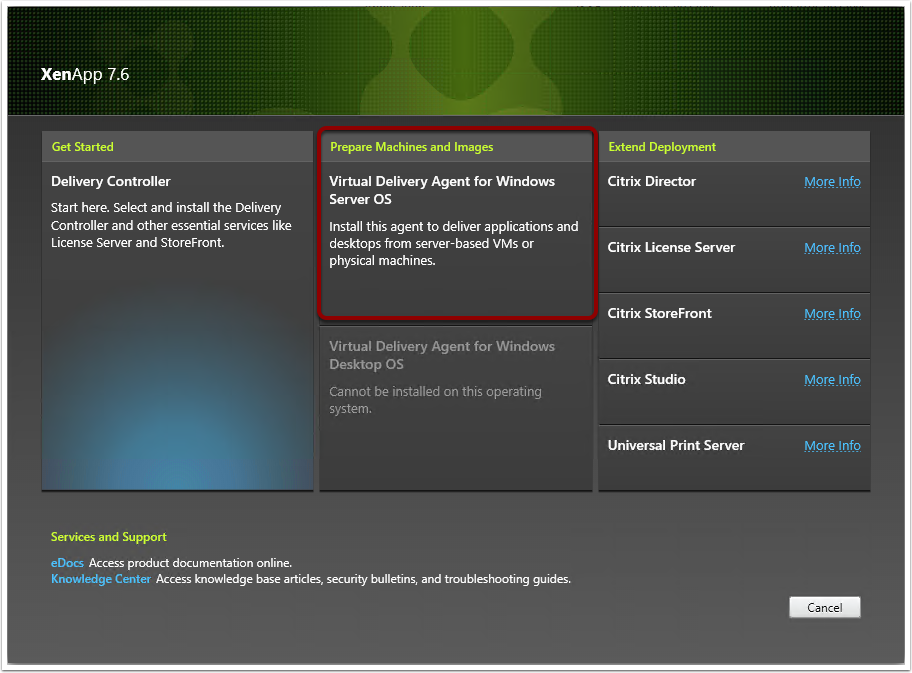
5. Click on Virtual Delivery Agent for Windows OS to commence the VDA installation
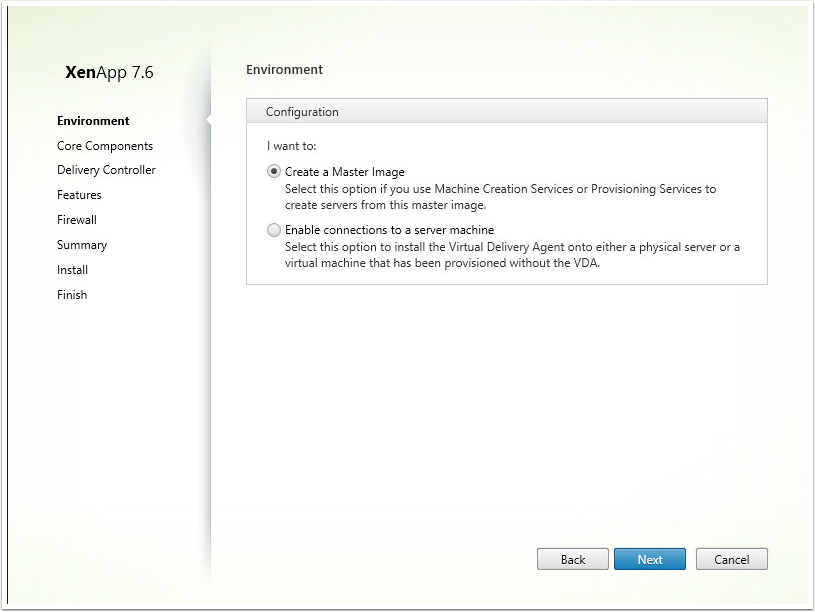
6. Select "Create a Master Image" and click Next
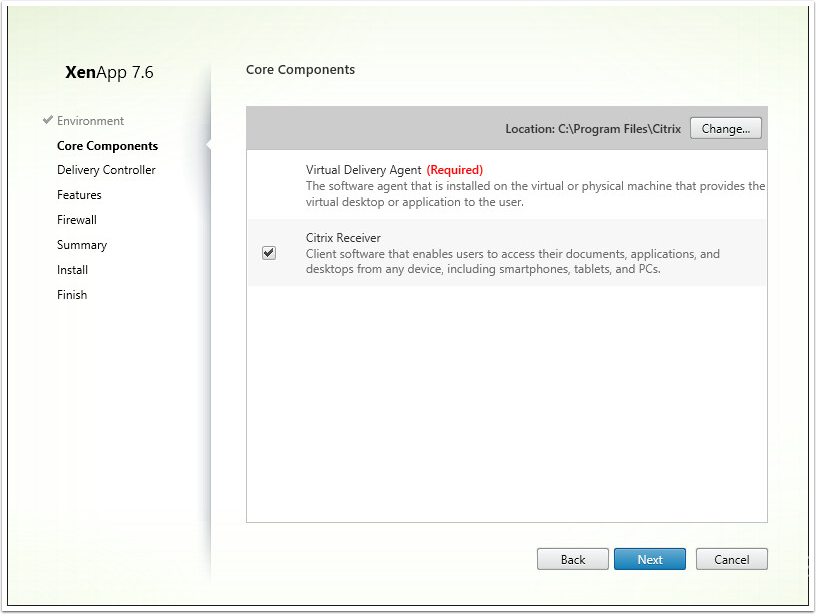
7. Click Next
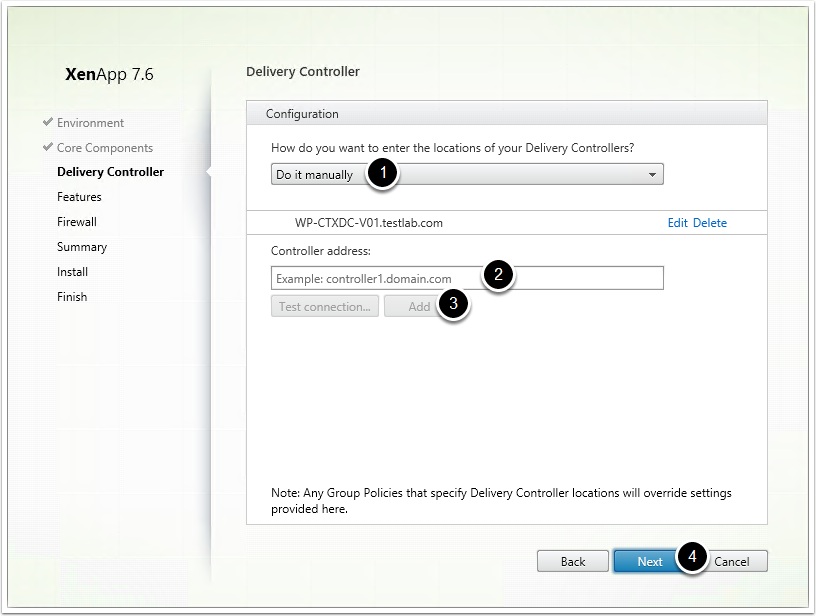
8. From the Delivery Controller screen, complete the following:
- Select the "Do it Manually" option
- From the Controllers Address field, enter the FQDN of a Citrix Delivery Controller
- Click on Test Connection and then if successful click on Add
- Click Next
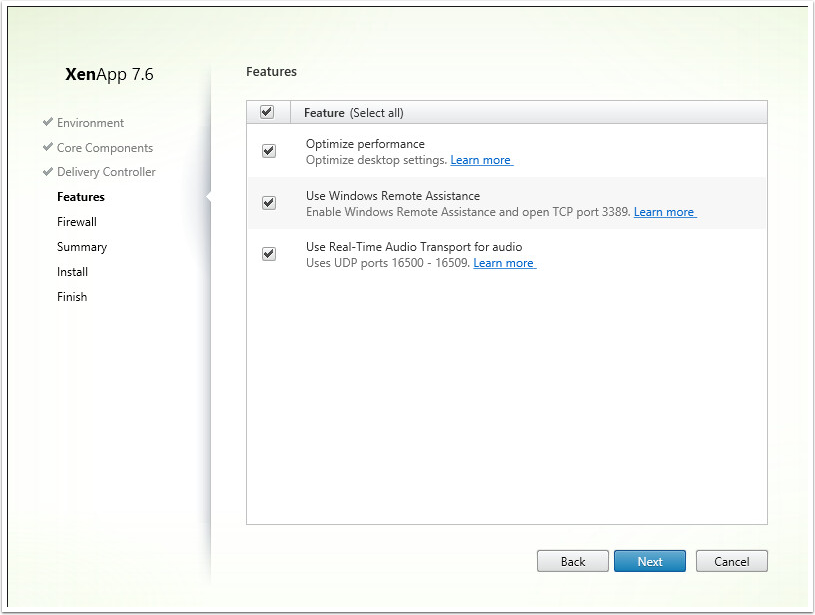
9. Ensure all options are selected and click Next
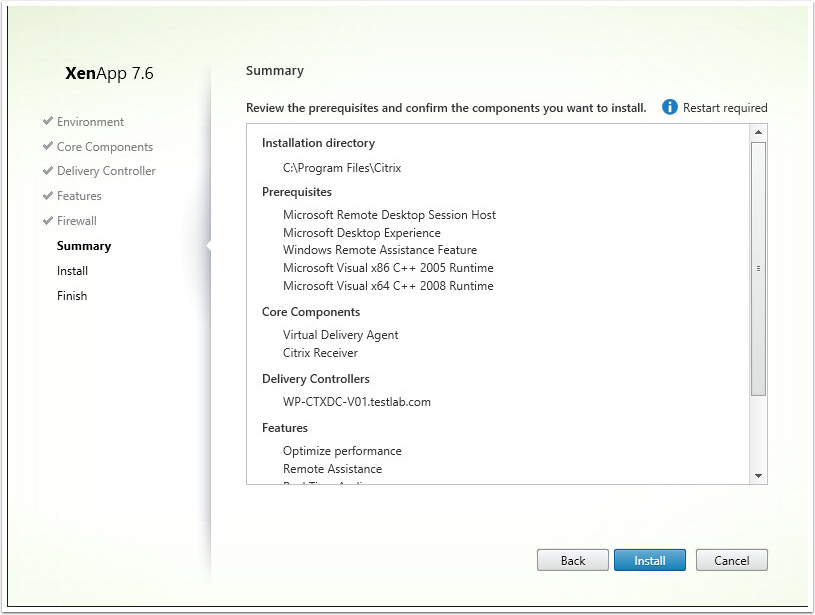
10. Click Next

11. Click Install
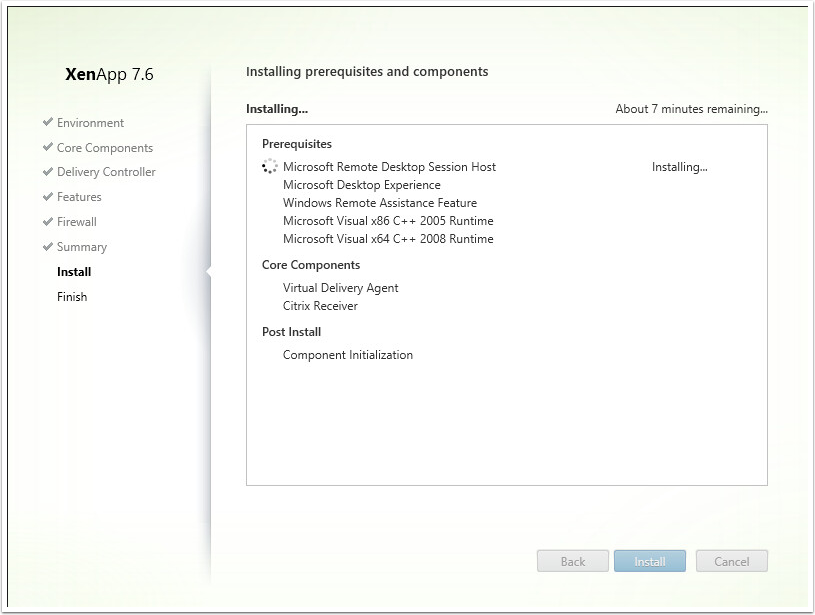
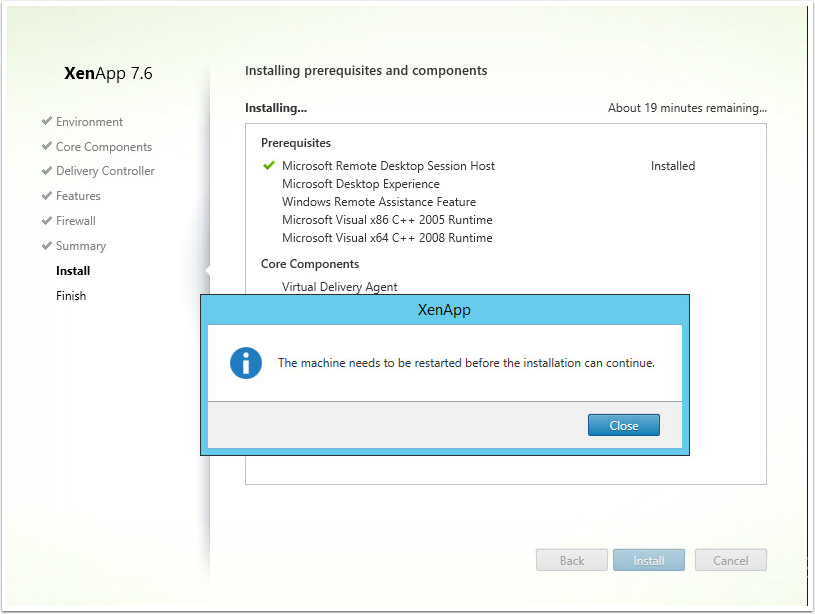
12. The Citrix VDA will commence installation
Note: During the installation, the server will need to reboot and again PXE boot into the PVS image. This will happen automatically as long as you followed the steps in part 7 of the Citrix Provisioning Services 7.6 Installation Guide
13. Click Close to reboot the server
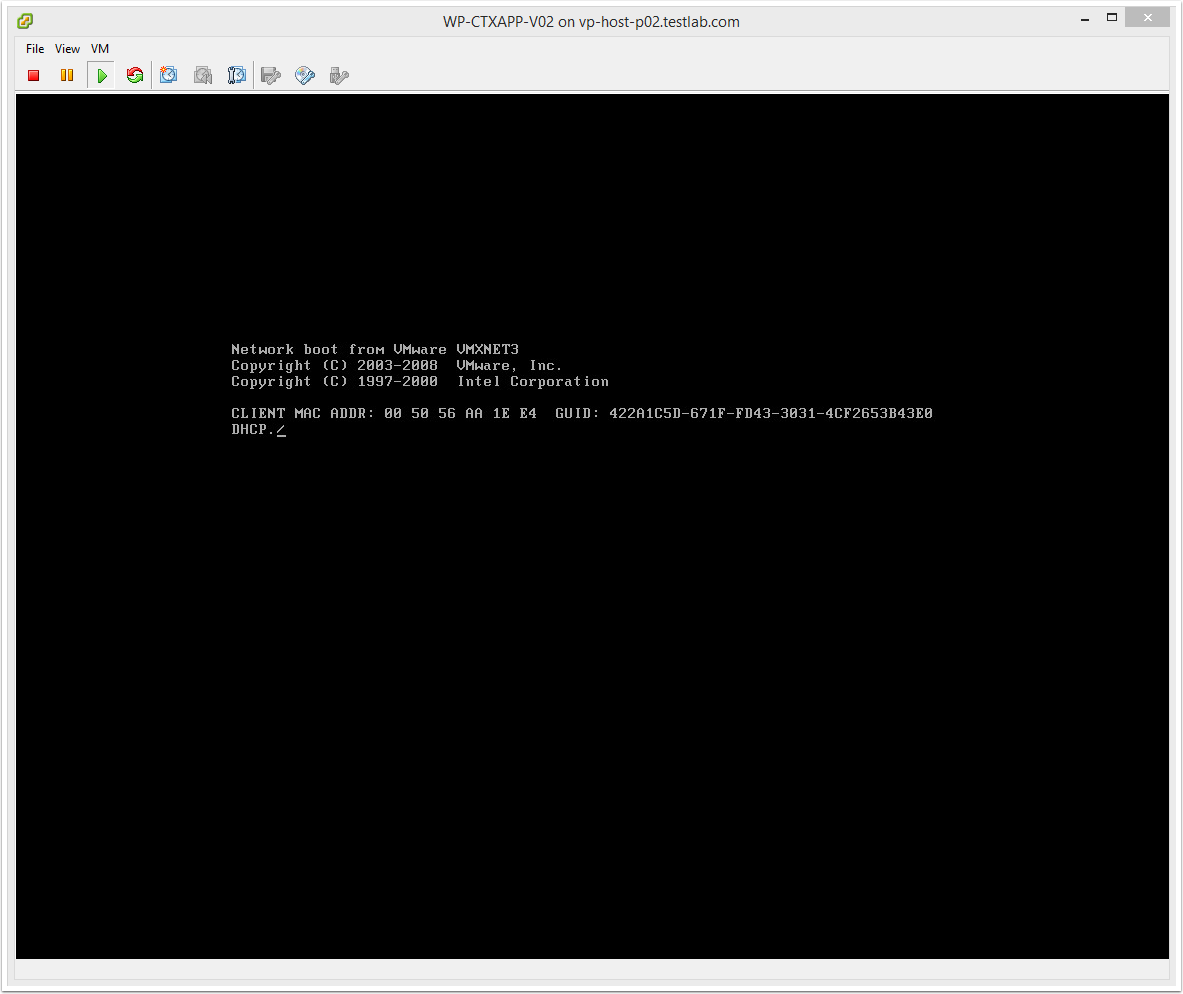
14. The server should automatically PXE boot and load the PVS image in private mode
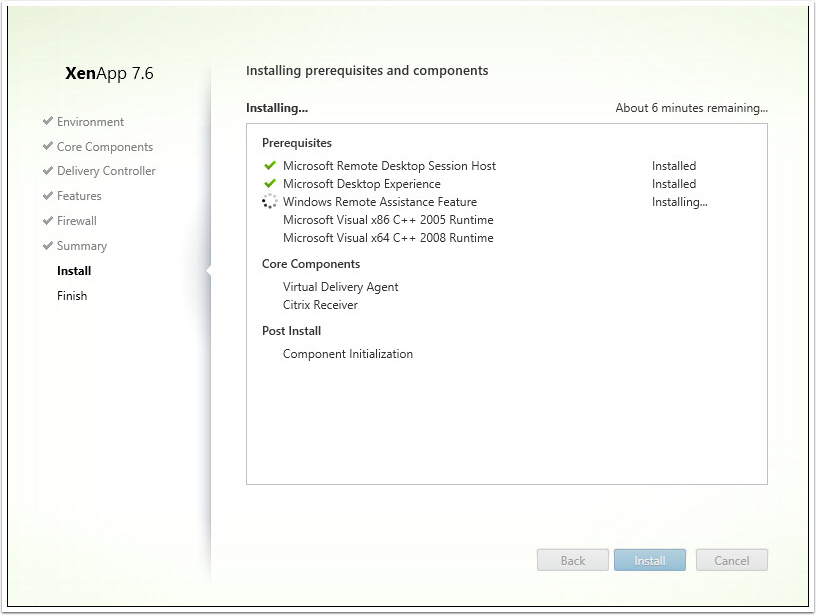
15. Once the VM has restarted, log in again as the same admin user
16. The installation will continue once you have logged in successfully
17. Once completed, click Finish
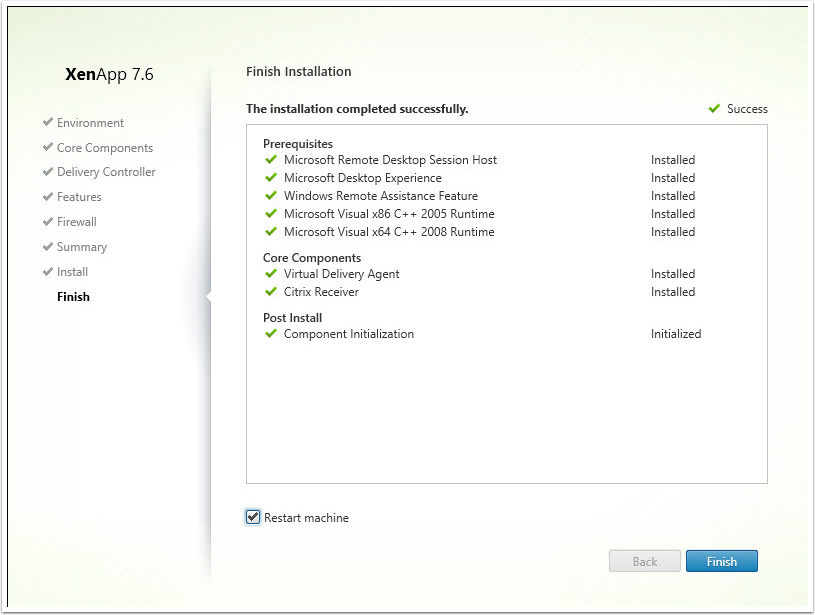
18. Restart the VM, PXE boot off the PVS image and log in as an administrator
19. Ensure there are no "Founds new Hardware" messages that appear
20. Ensure the image is working successfully and that all applications are installed and configured as required
21. If everything is ok, shut down the PVS Capture VM
Next article…
The next article coming up in the series is: Citrix PVS 7.6 Install & Configuration Guide – Part 9: Preparing for Production use.