There are a few ways a Citrix PVS Target Device can connect to the Citrix PVS server to stream the image. The best and most effcient way is via DHCP and PXE boot. In order to be able to use this configuration, you will need a DHCP server and you will need to configure the DHCP scope options to point to the Citrix PVS PXE server.
The alternative to using DHCP and PXE is to use the Provisioning Service Boot Device Manager. In this guide I am not going to be using it (as I chose the PXE boot option), however if you do use it, it essentially creates an ISO file that you boot the target device from. This ISO contains an IP address for the target device and all of the PVS server information. This will then allow the target device VM to connect to the PVS server and stream the image. The drawback to using this option is that you will need to manually create and manage and ISO file for each of your PVS target devices, which sort of takes away from the automated and easy deployment mechanism that is Citrix Provisioning Services.
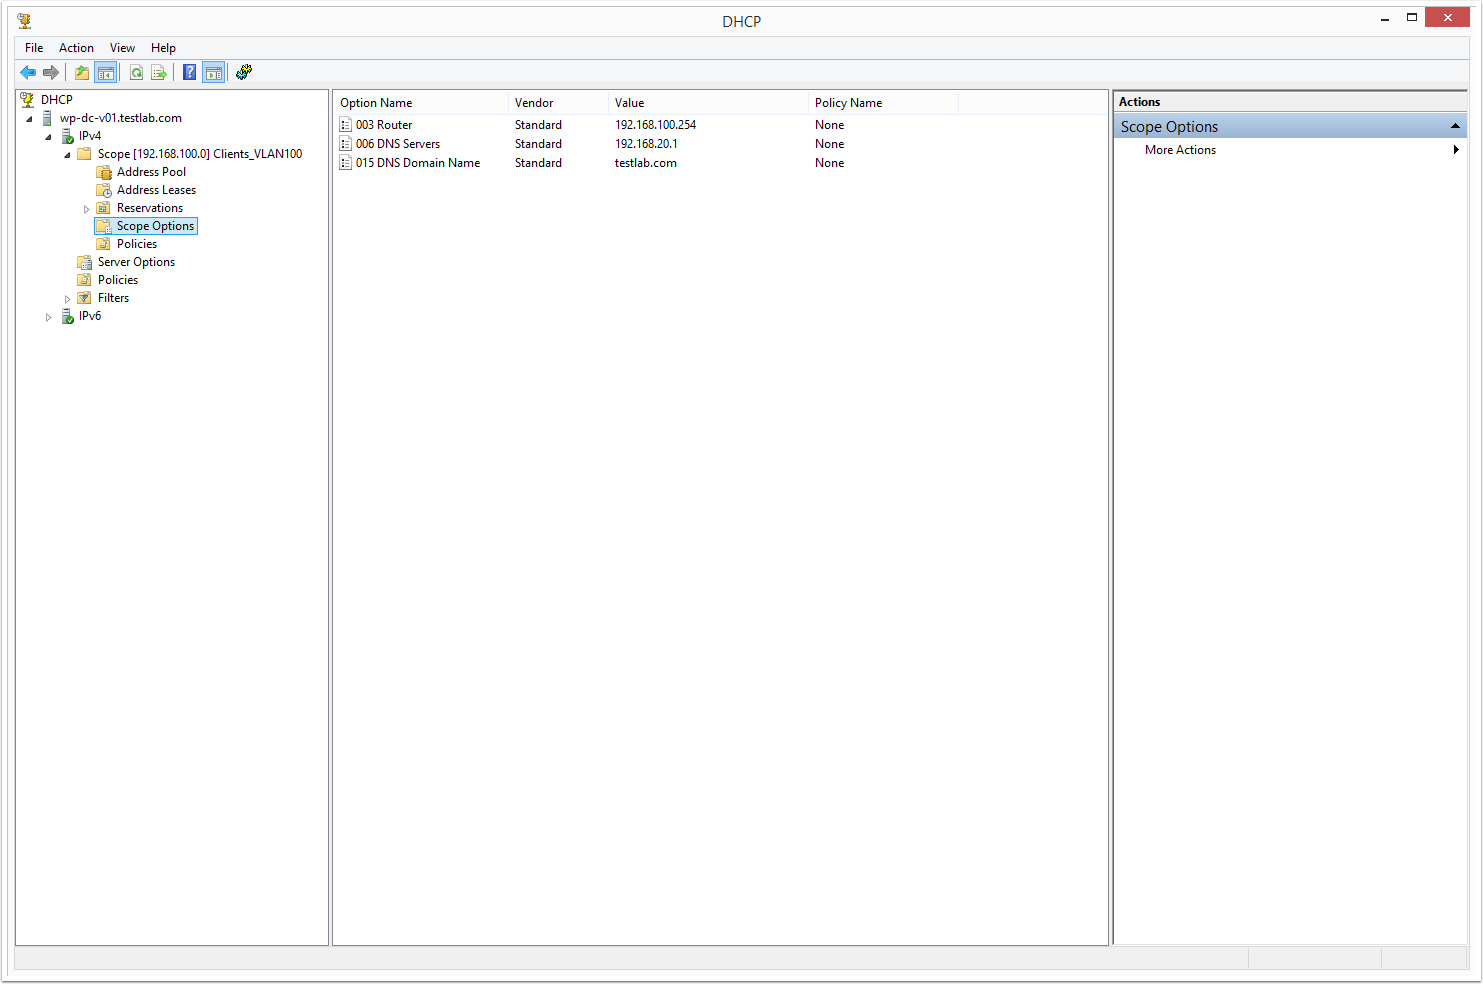
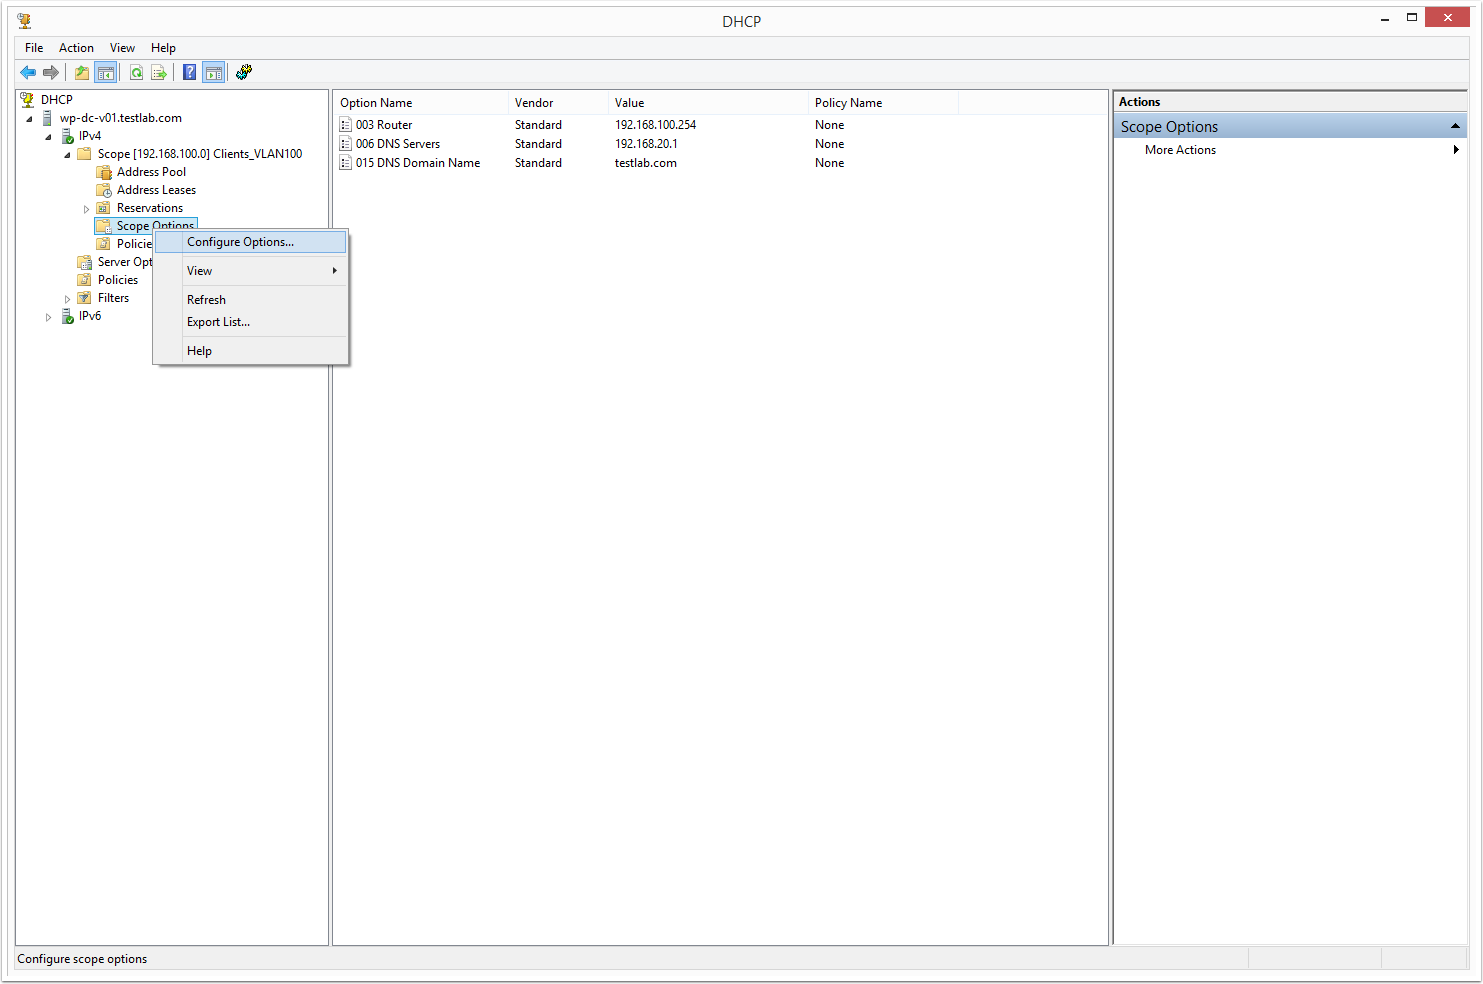
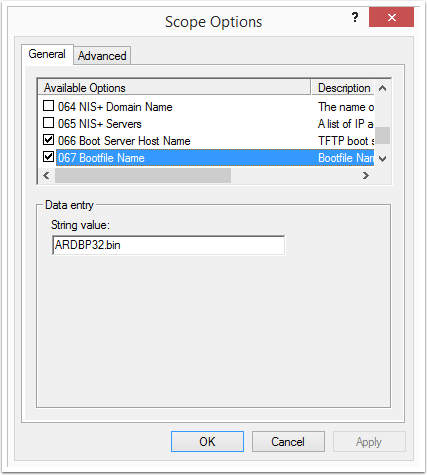
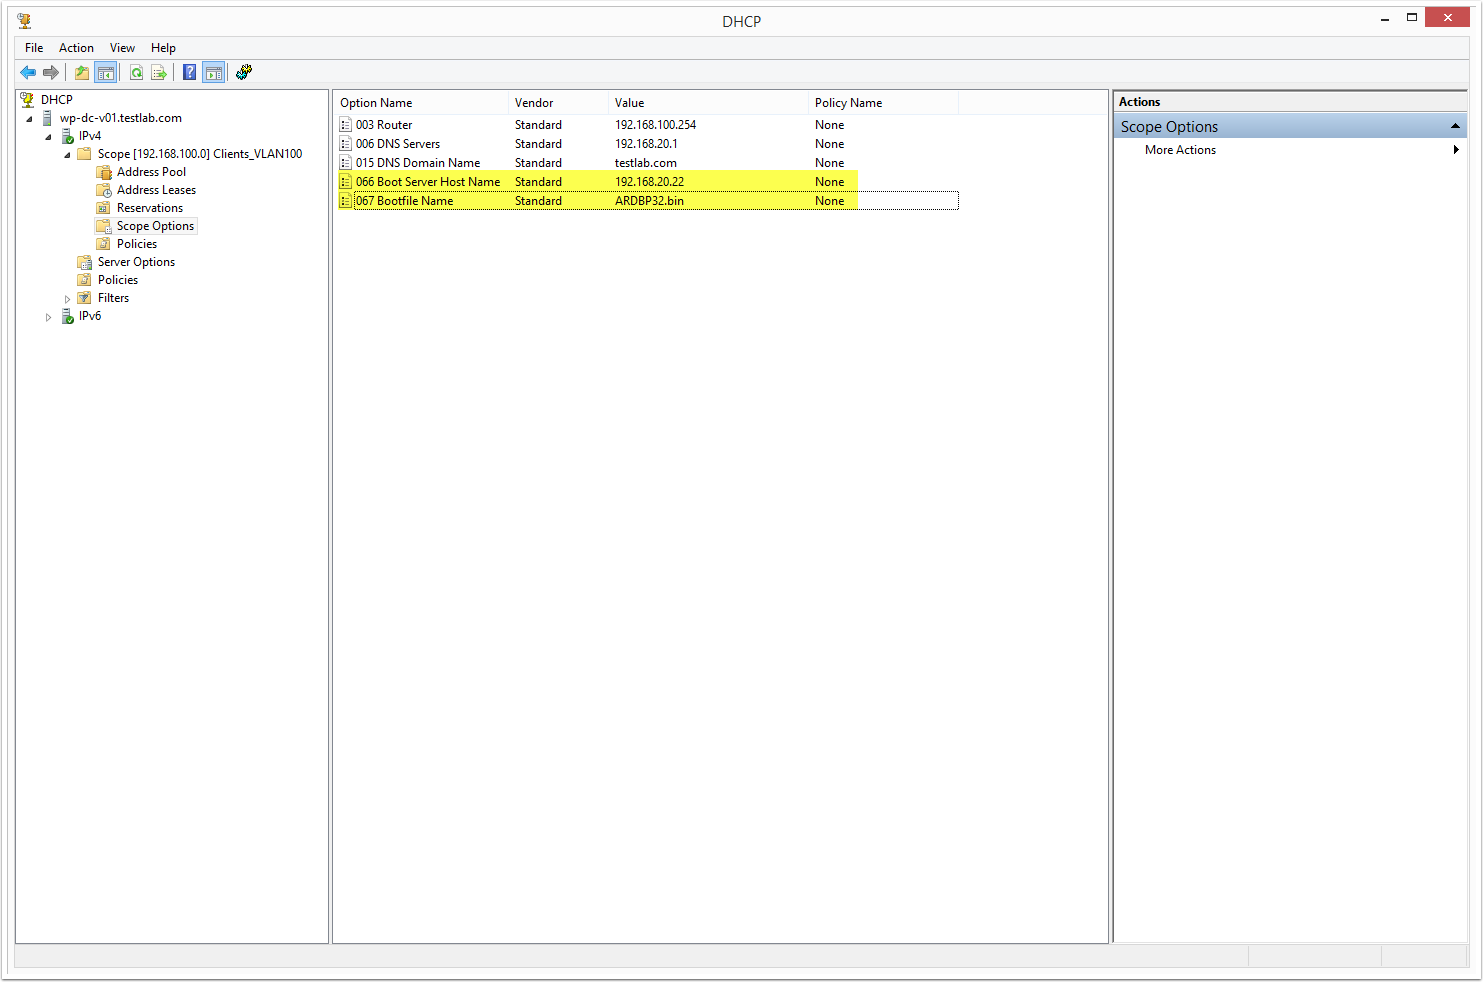
The following article explains how to configure your existing DHCP server so that you can use PXE on your PVS target devices:

Luca; i would like to thank you for all your efforts. Please keep up the good work.
Thanks Aryan!
Great instructions. One issue i have with using DHCP options is that it only allows for one TFTP server IP and in doing so removes any sort of resilience. Something which BDM does offer.