Now that the Citrix Provisioning Services 7.6 has been installed, we need configure the server for our environment. To do this, follow the steps below:
Citrix PVS 7.6 Install – Part 2: Configuring PVS Server
This is part 2 in the Citrix Provisioning Services 7.6 installation and configuration guide. In this article we be configuring the Citrix Provisioning Services server.
Quick Links
Here are the links to each of the articles that make up this series:
- Citrix PVS 7.6 Install & Configuration Guide – Introduction
- Citrix PVS 7.6 Install & Configuration Guide – Part 1: Installing PVS Server
- Citrix PVS 7.6 Install & Configuration Guide – Part 2: Configuring PVS Server
- Citrix PVS 7.6 Install & Configuration Guide – Part 3: Configuring DHCP for Citrix PVS PXE
- Citrix PVS 7.6 Install & Configuration Guide – Part 4: Creating a Capture VM
- Citrix PVS 7.6 Install & Configuration Guide – Part 5: Group Policy for PVS Target Devices
- Citrix PVS 7.6 Install & Configuration Guide – Part 6: Preparing for Image Capture
- Citrix PVS 7.6 Install & Configuration Guide – Part 7: Capturing the PVS Image
- Citrix PVS 7.6 Install & Configuration Guide – Part 8: Installing Virtual Delivery Agent on the PVS Image
- Citrix PVS 7.6 Install & Configuration Guide – Part 9: Preparing for Production use
- Citrix PVS 7.6 Install & Configuration Guide – Part 10: Creating new PVS Target Devices
- Citrix PVS 7.6 Install & Configuration Guide – Part 11: Creating a PVS-Enabled Machine Catalog
- Citrix PVS 7.6 Install & Configuration Guide – Part 12: Creating a Delivery Group
- Citrix PVS 7.6 Install & Configuration Guide – Part 13: Testing Published Applications
Step-by-Step Guide
1. Log onto the Citrix PVS server as a user with administrative rights
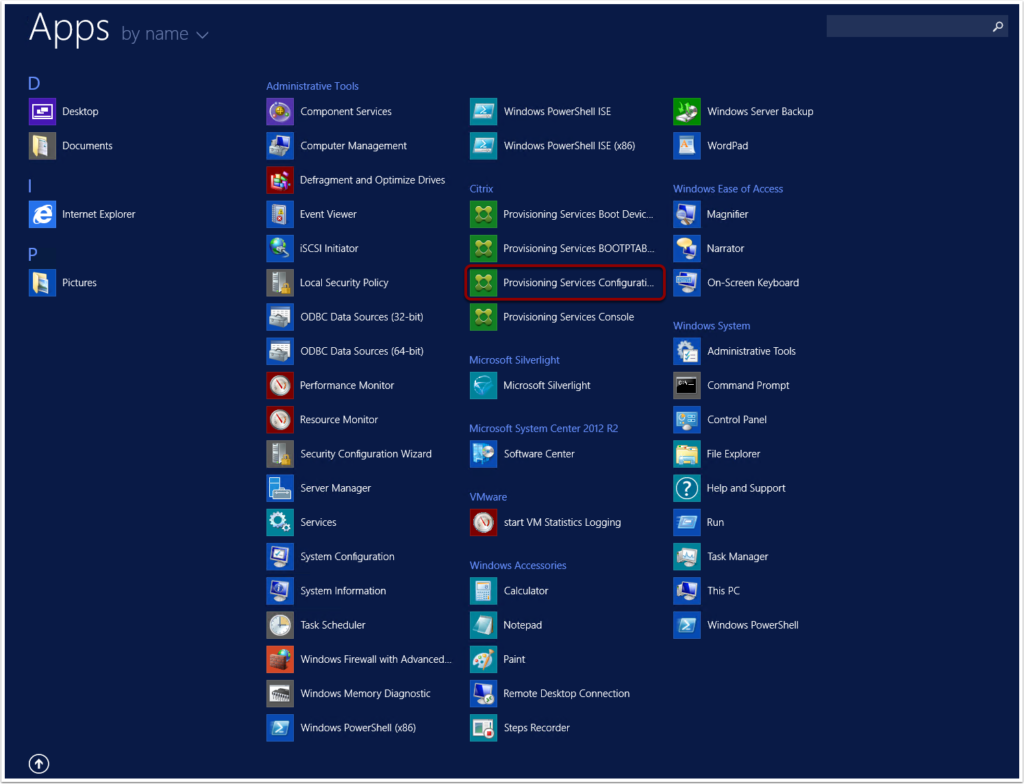
2. Launch the Provisioning Services Configuration Wizard from the Start Menu
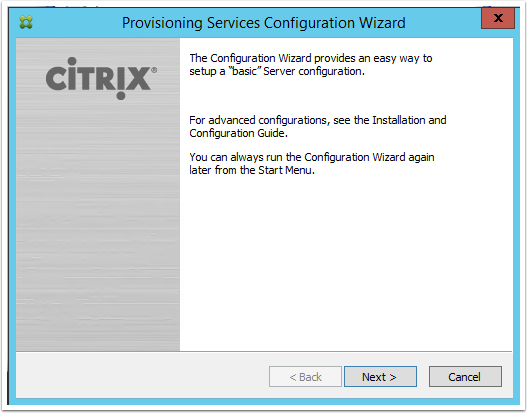
3. From the window that appears, click Next
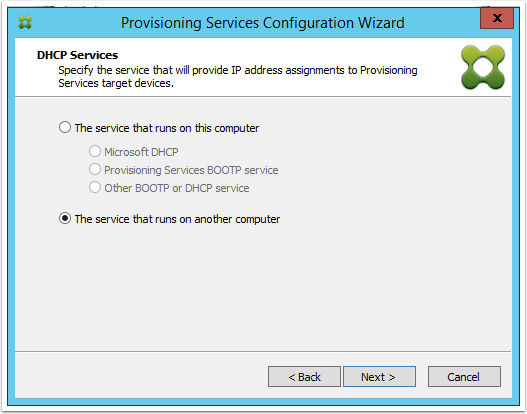
4. Select the appropriate option for your environment and then click Next
In my testlab, I have a DHCP server running on my Domain Controller and therefore I selected "The service runs on another computer" option
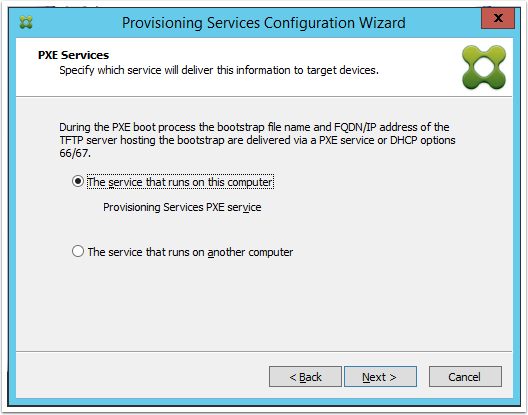
5. Again, select the appropriate option for your environment and then click Next
Note: If using PXE, you will need to configure your DHCP server scope options (Option 66 and 67) to point to your PXE server. For more information on how to do this, see the next article in this Citrix PVS 7.6 Install series.
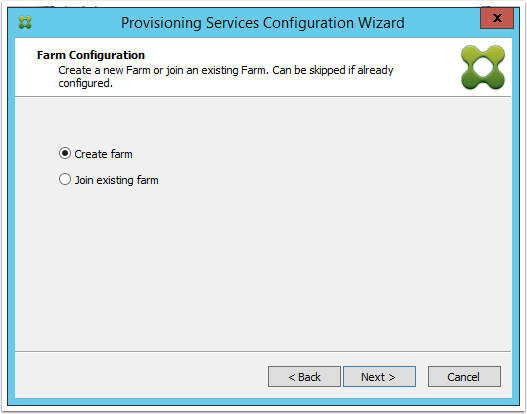
6. Select Create Farm and then click Next
If you are adding additional Citrix PVS servers into your existing farm, then this is where you would select "Join existing farm"
7. Enter your database server details and then click Next

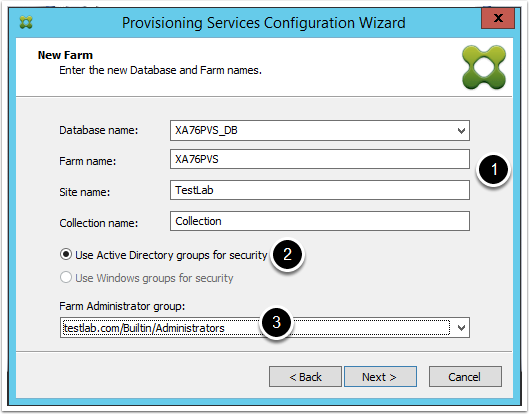
8. Complete the following and then click Next
- Enter the appropriate naming details for:
- Database Name
- Farm Name
- Site Name
- Collection Name
- Select Use Active Directory gruops for security
- Select the AD group that will become the Citrix PVS farm administrators
9. Enter a PVS store name and the location of the PVS Store. Click Next
The PVS Store is where all of the captured images are stored. For this reason, the path you select will need to be a storage option that has a large amount of disk space available and (in most instances) is highly available and recoverable

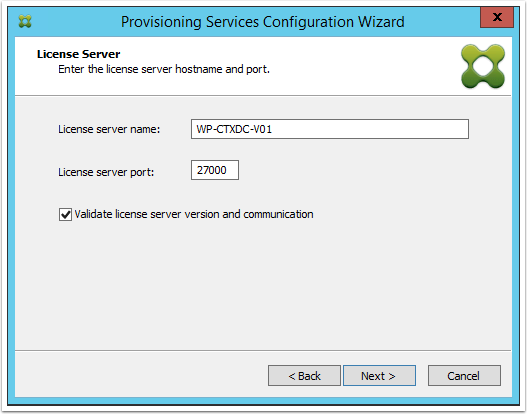
10. Enter the details of your Citrix license server, then select "Validate license server version and communication" and then click Next
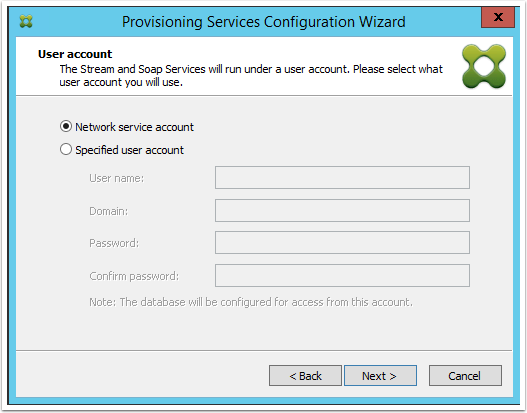
11. Select Network Service Account and click Next
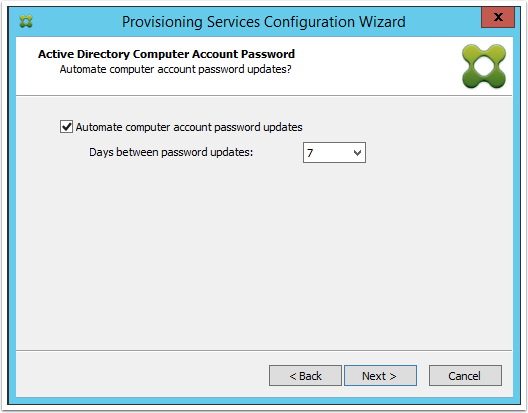
12. The preferred option is to allow the PVS server to manage the Active Directory Computer Account Password changes. For this reason accept the defaults and click Next
Note: If you are going to allow Citrix PVS to manage the AD computer account password changes, then we will need to disable the automatic password changes for all devices that have been deployed by a Citrix PVS image. To do this, follow part 5 on the Citrix PVS 7.6 Install series
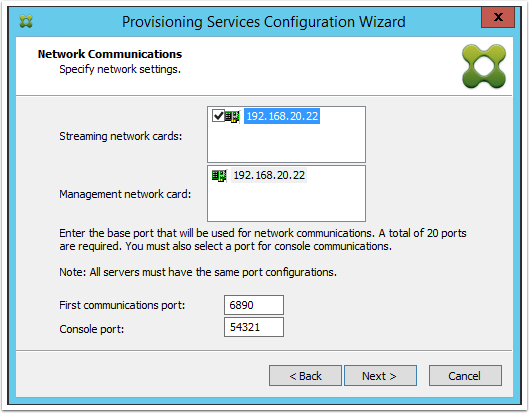
13. Select the network card(s) you want to use to stream the PVS images and then click Next
In my environment, I am only using one NIC for the Citrix PVS server and therefore it will be used for both streaming and management
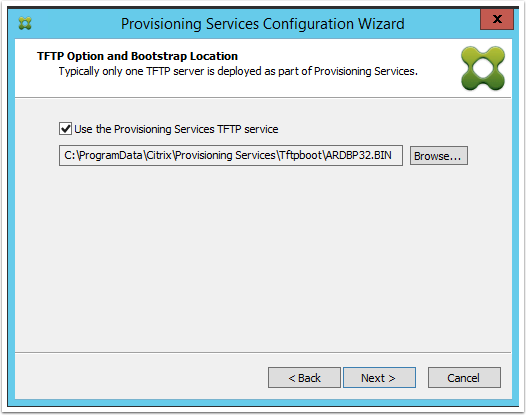
14. Ensure the "Use the Provisioning Service TFTP service" is selected and click Next
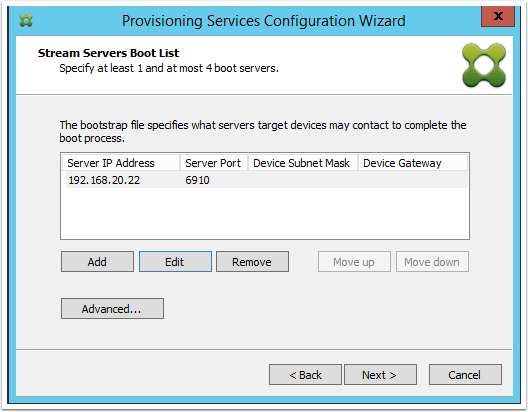
15. Depending on your selection in step 13, ensure the correct IP address(es) have been added and then click Next
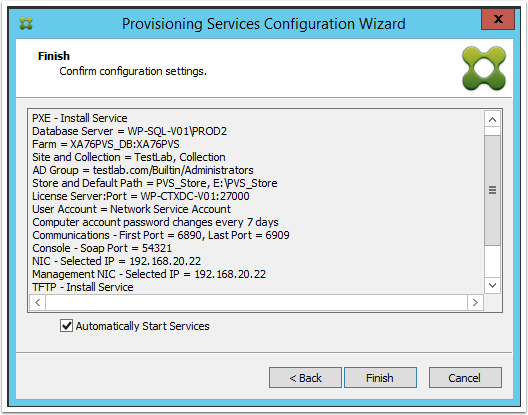
16. Select "Automatically Start Services" and then click Finish
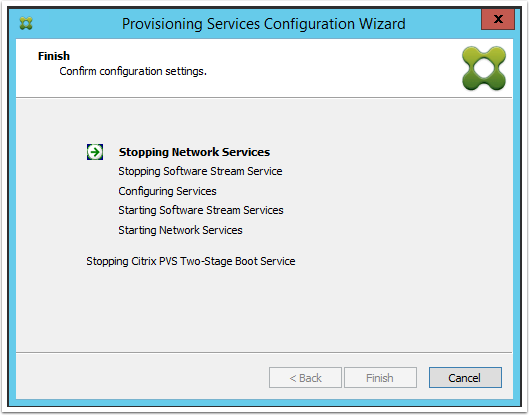
17. The Citrix PVS server will now be conifgured for your environment
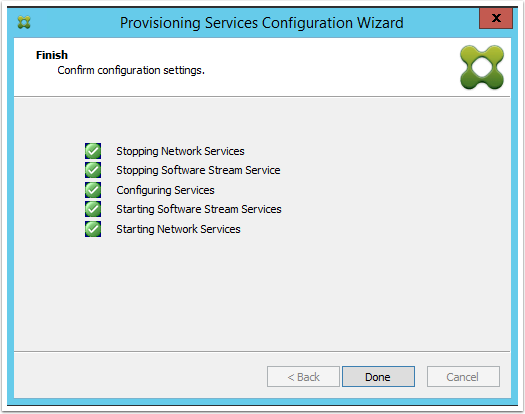
18. Once complete, click Done to exit the PVS Configuration Wizard
Next article…
The next article coming up in the series is: Citrix PVS 7.6 Install & Configuration Guide – Part 3: Configuring DHCP for Citrix PVS PXE.