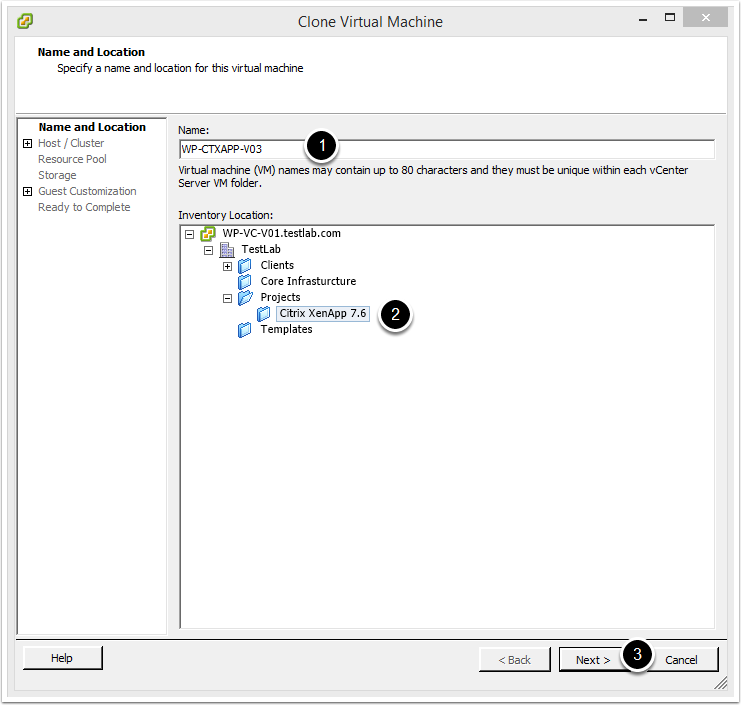
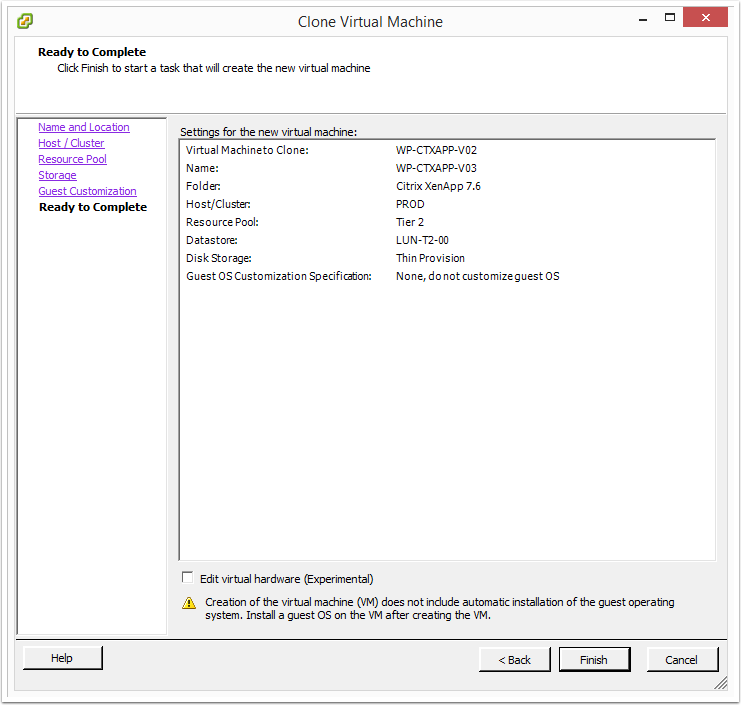
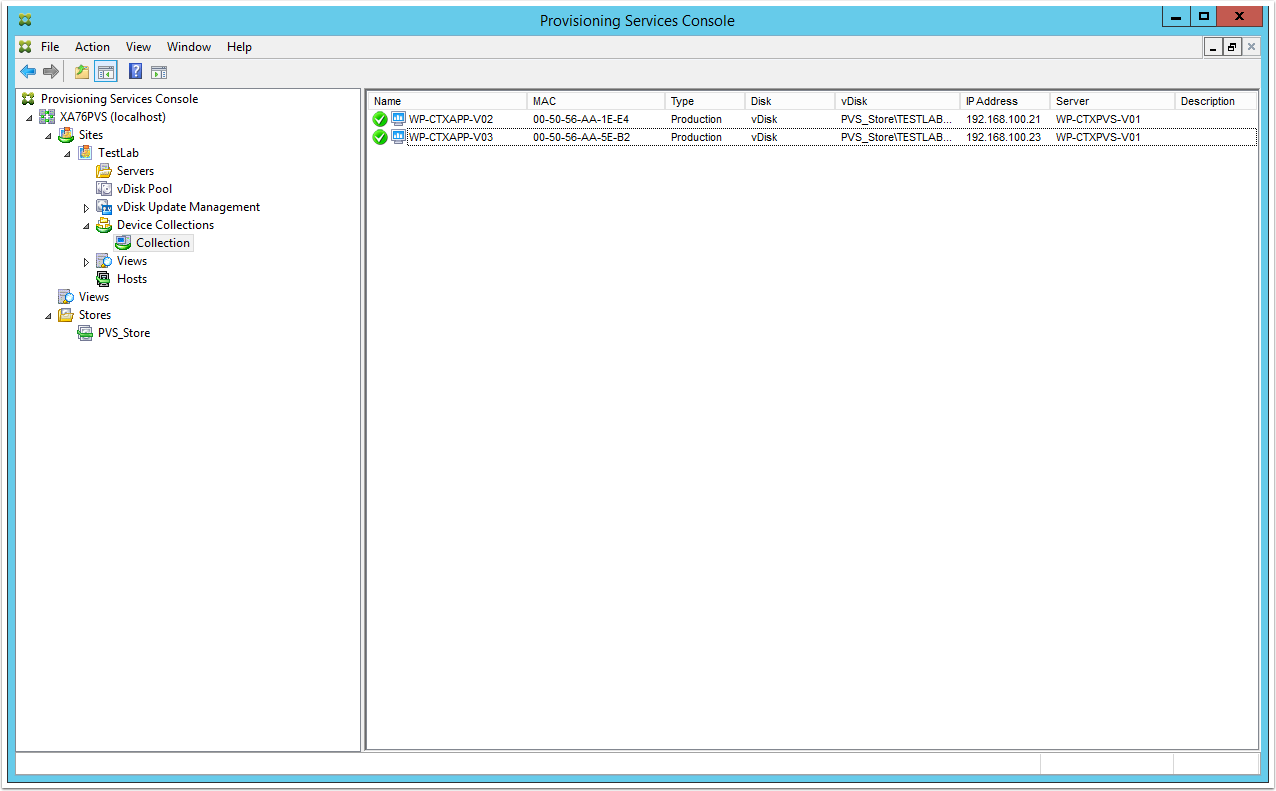
At this stage we have one PVS Target Device (WP-CTXAPP-V02). However at some point we will want to deploy more. This article explains how to do this. As mentioned previously, we could have converted WP-CTXAPP-V02 into a vSphere Template and then just deployed all of our PVS Target Devices from there. This is an awesome idea in a production environment, however in my test lab where I have limited resources, I am just going to take a clone of WP-CTXAPP-V02 to create a new PVS Target Device. Either way works well, even though the vSphere Template path is a more elegant solution.
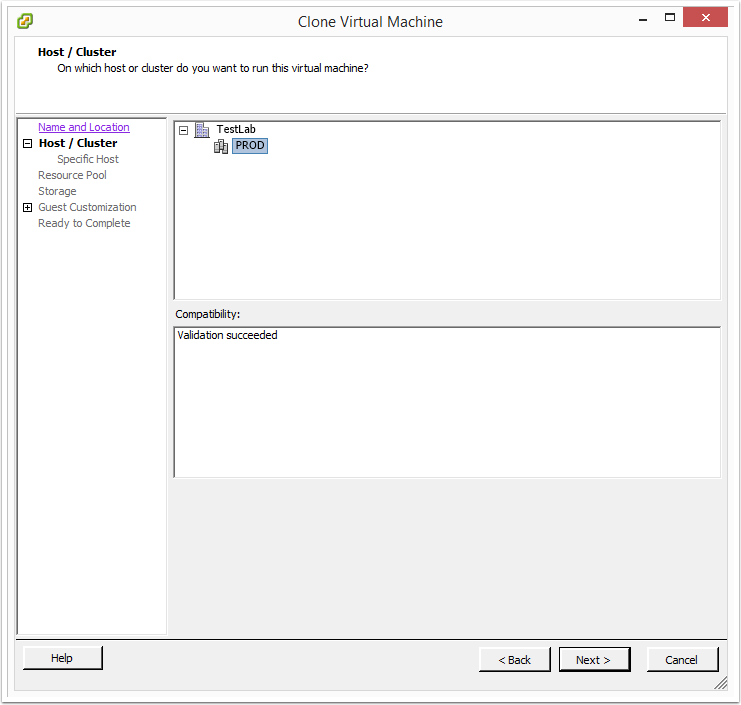
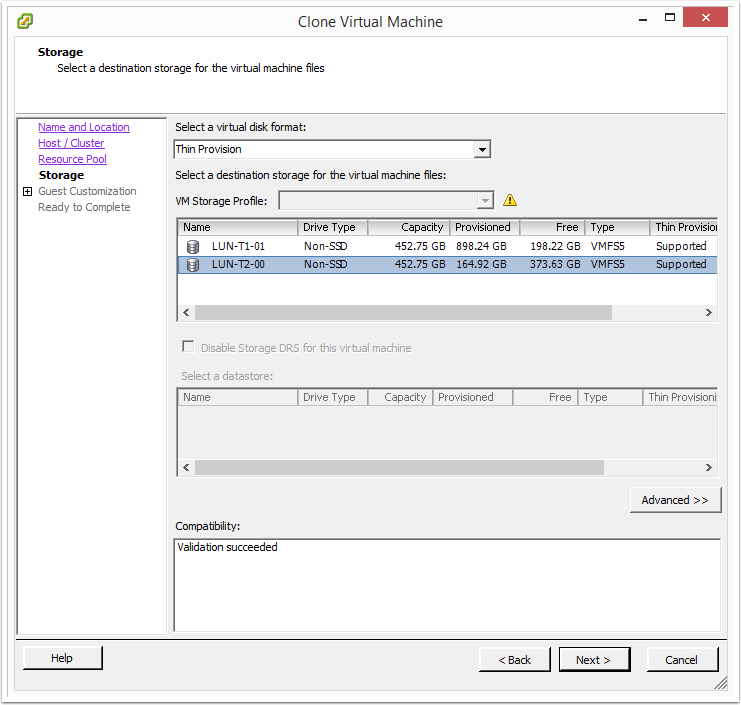
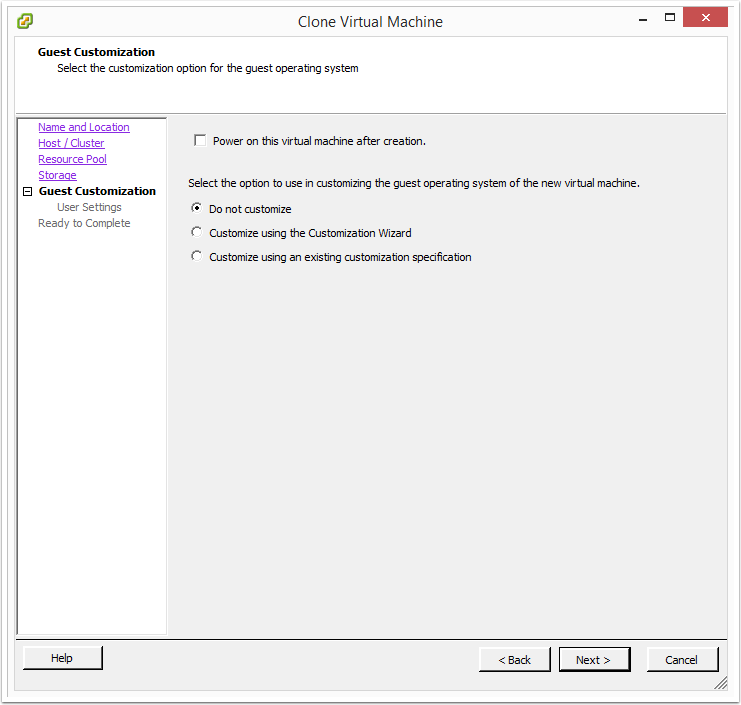
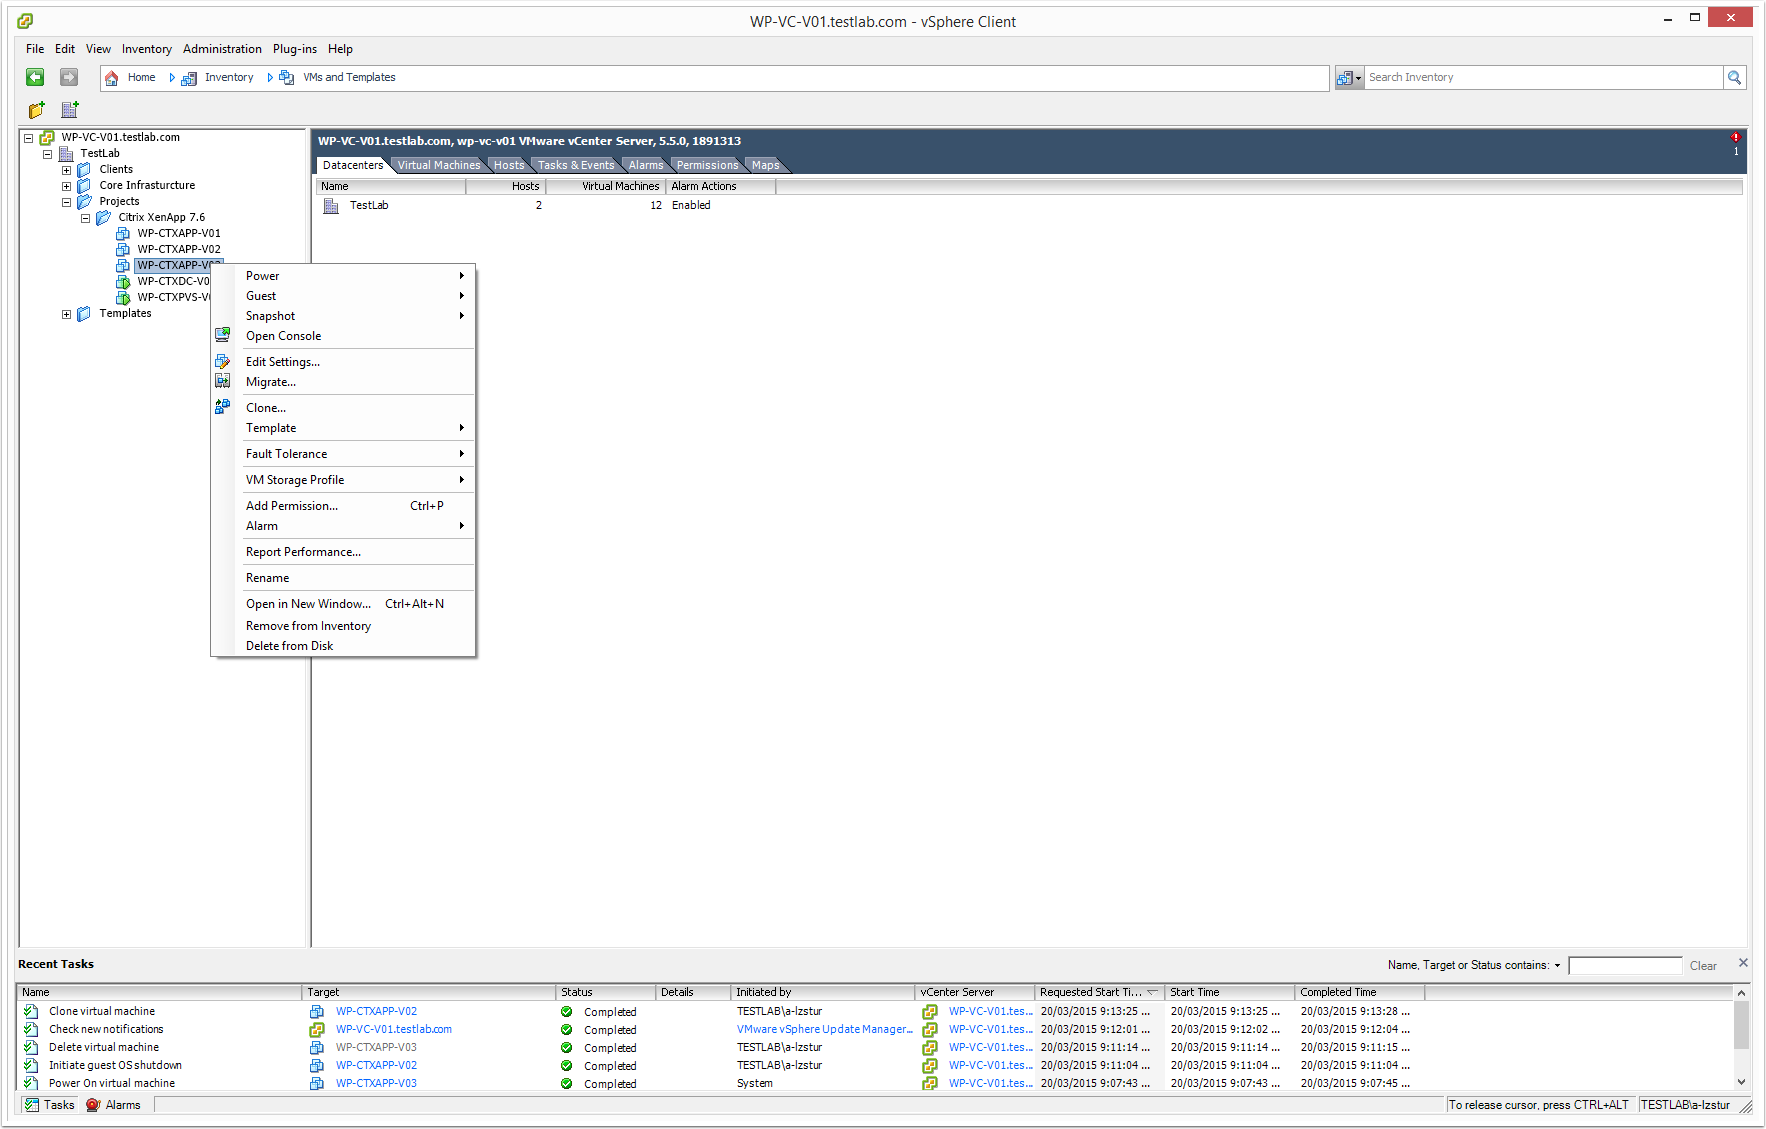
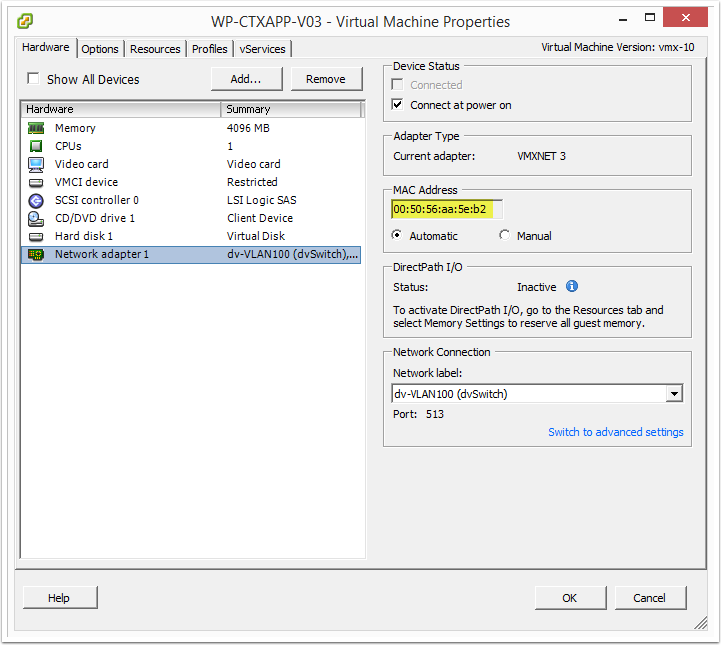
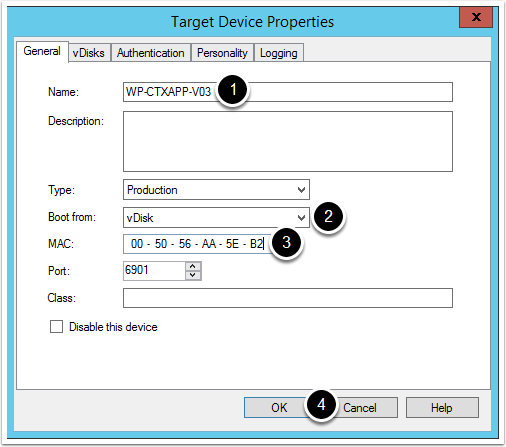
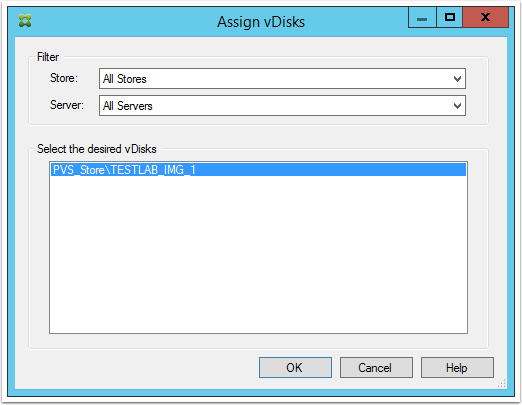
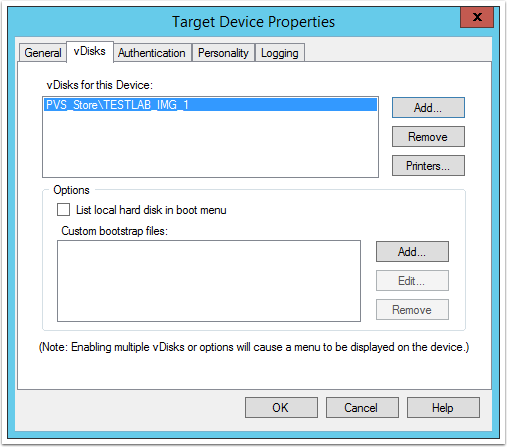
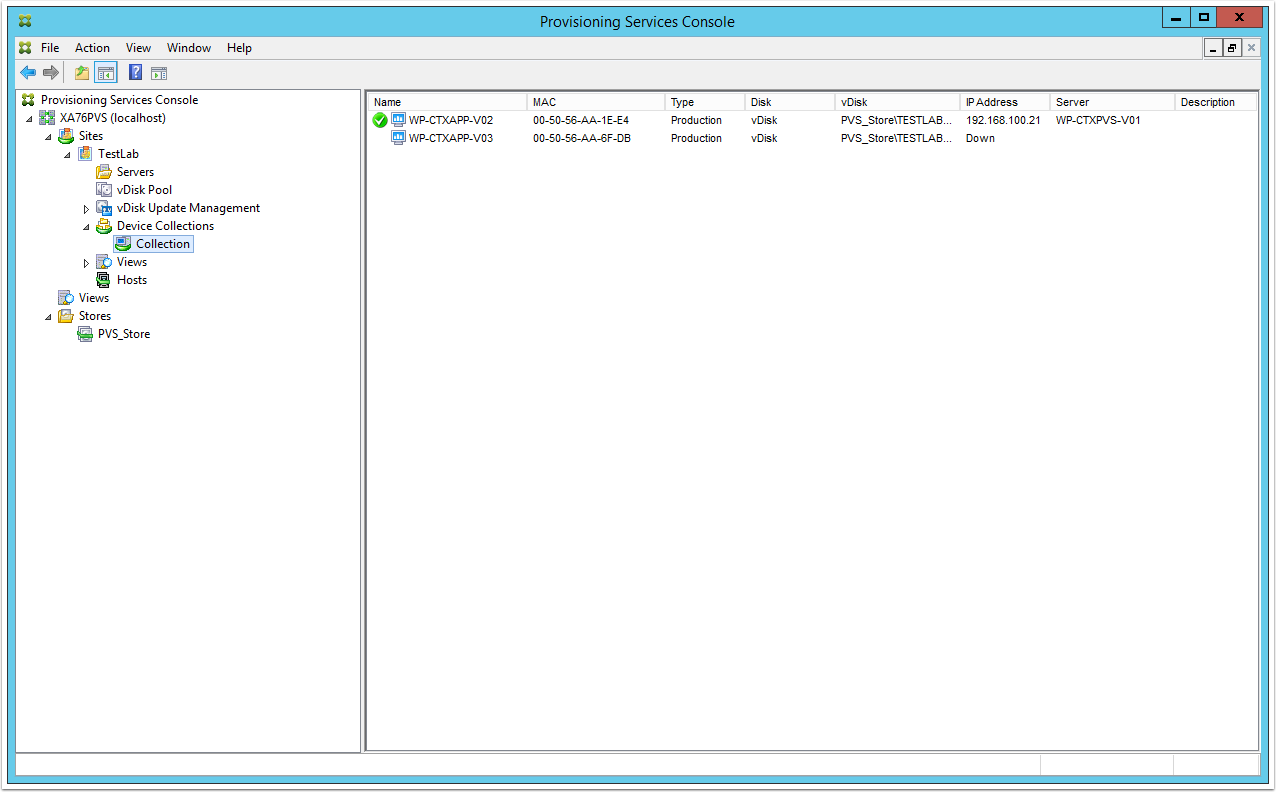
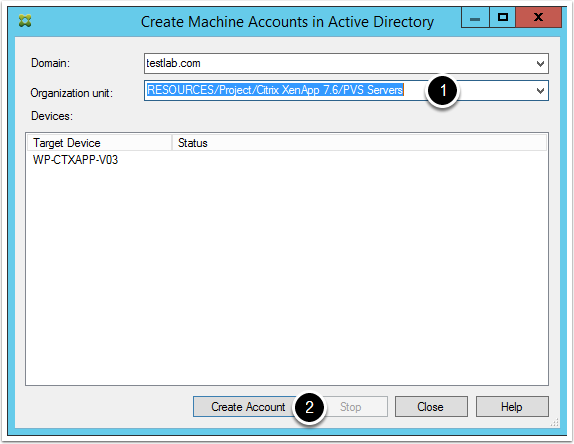
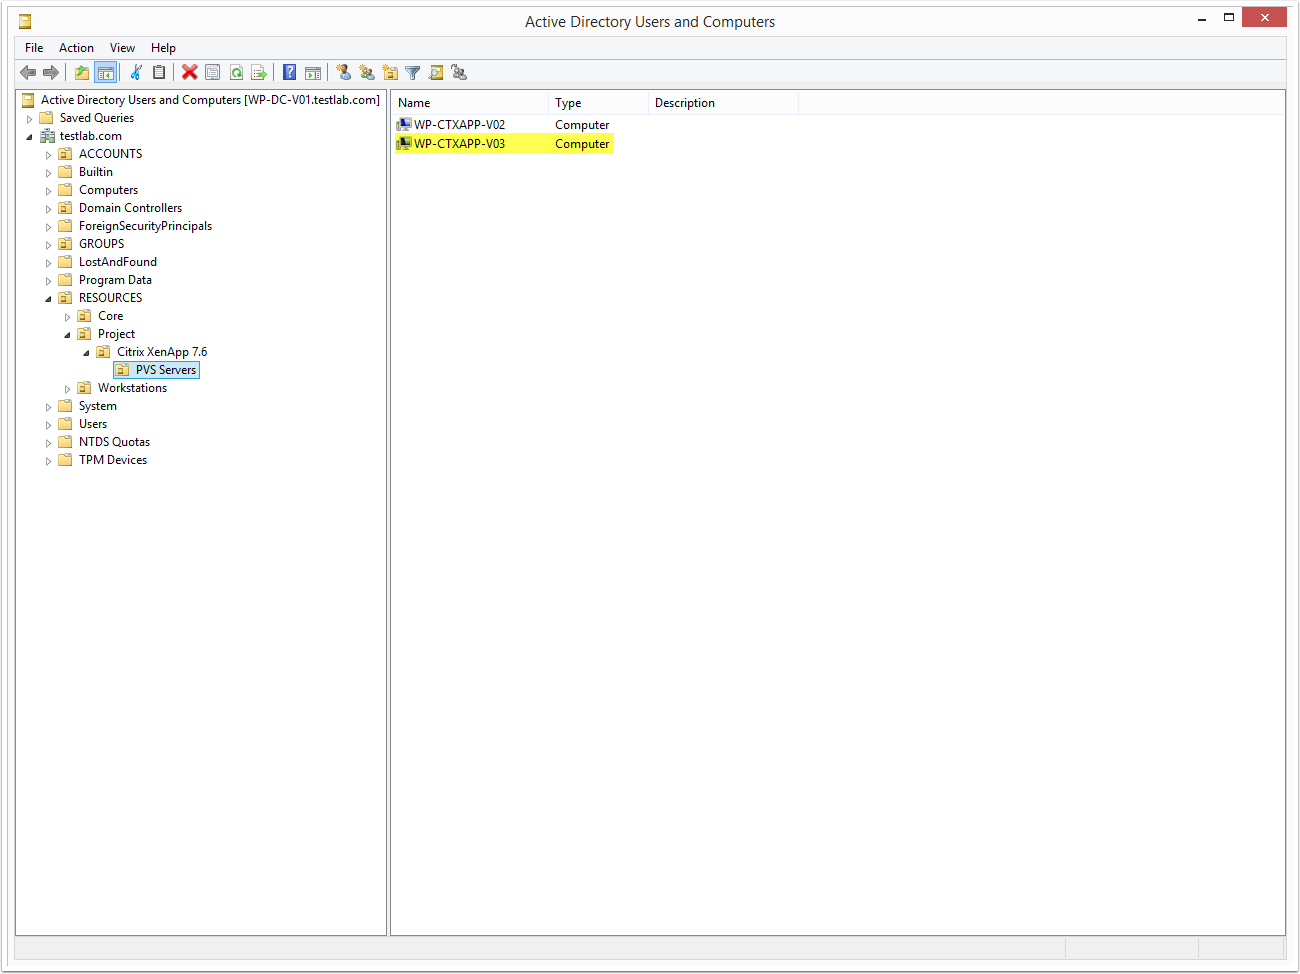
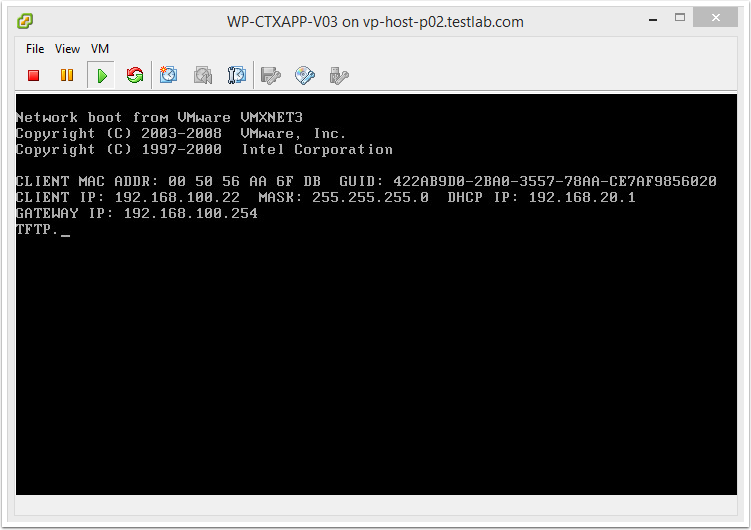
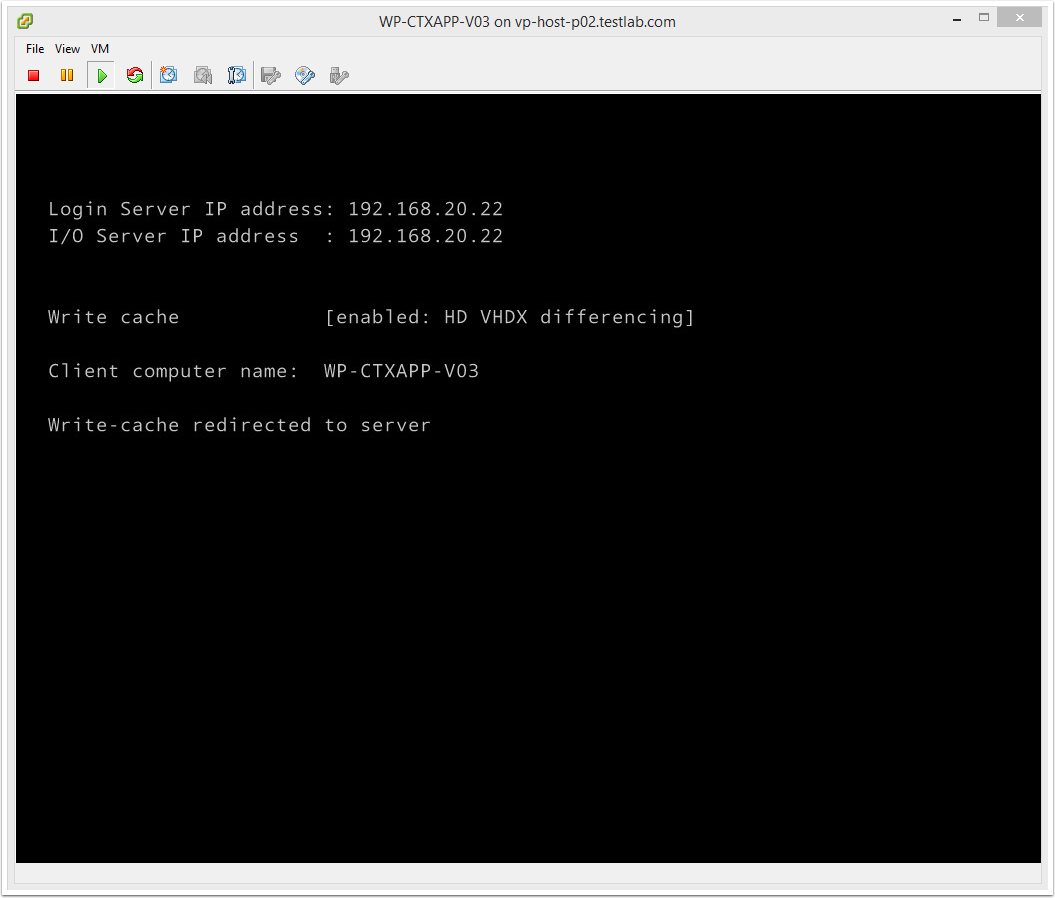
Here are the steps required to create a new PVS Target Device from an existing PVS Target Device:


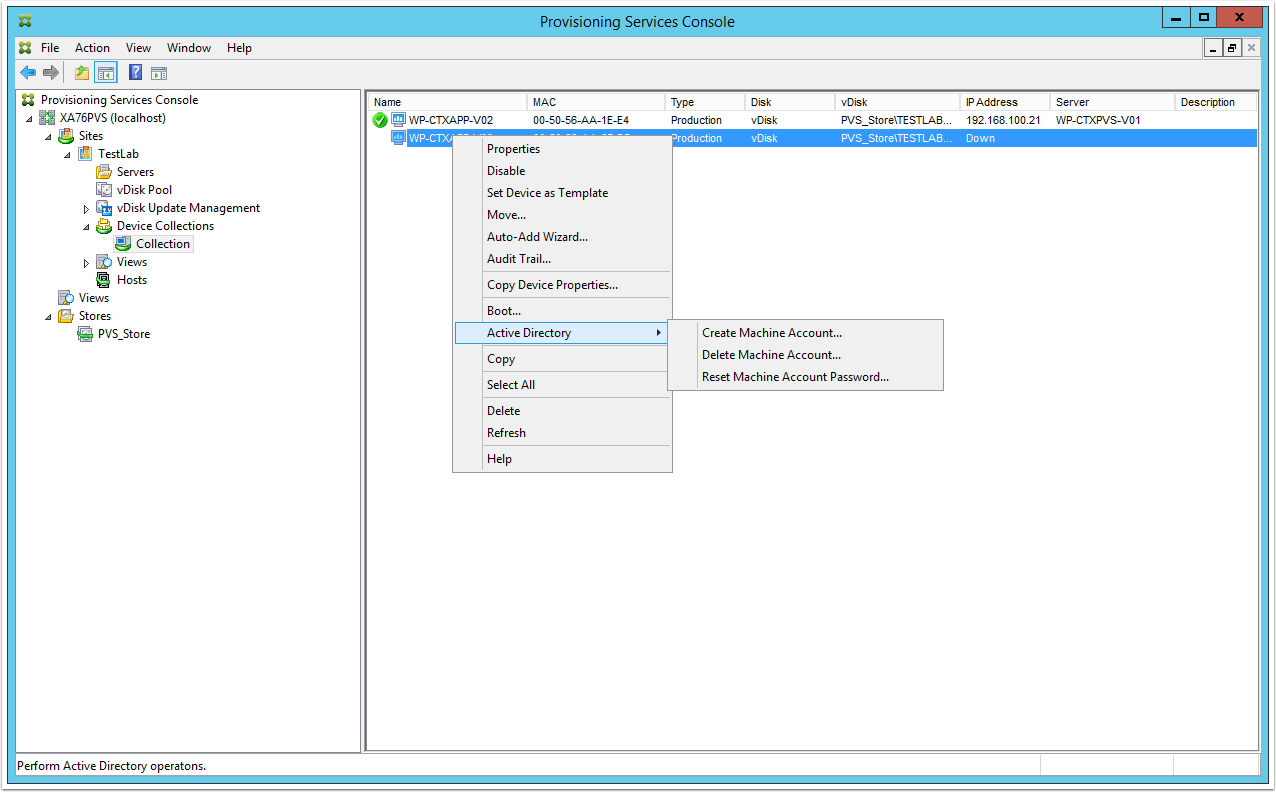
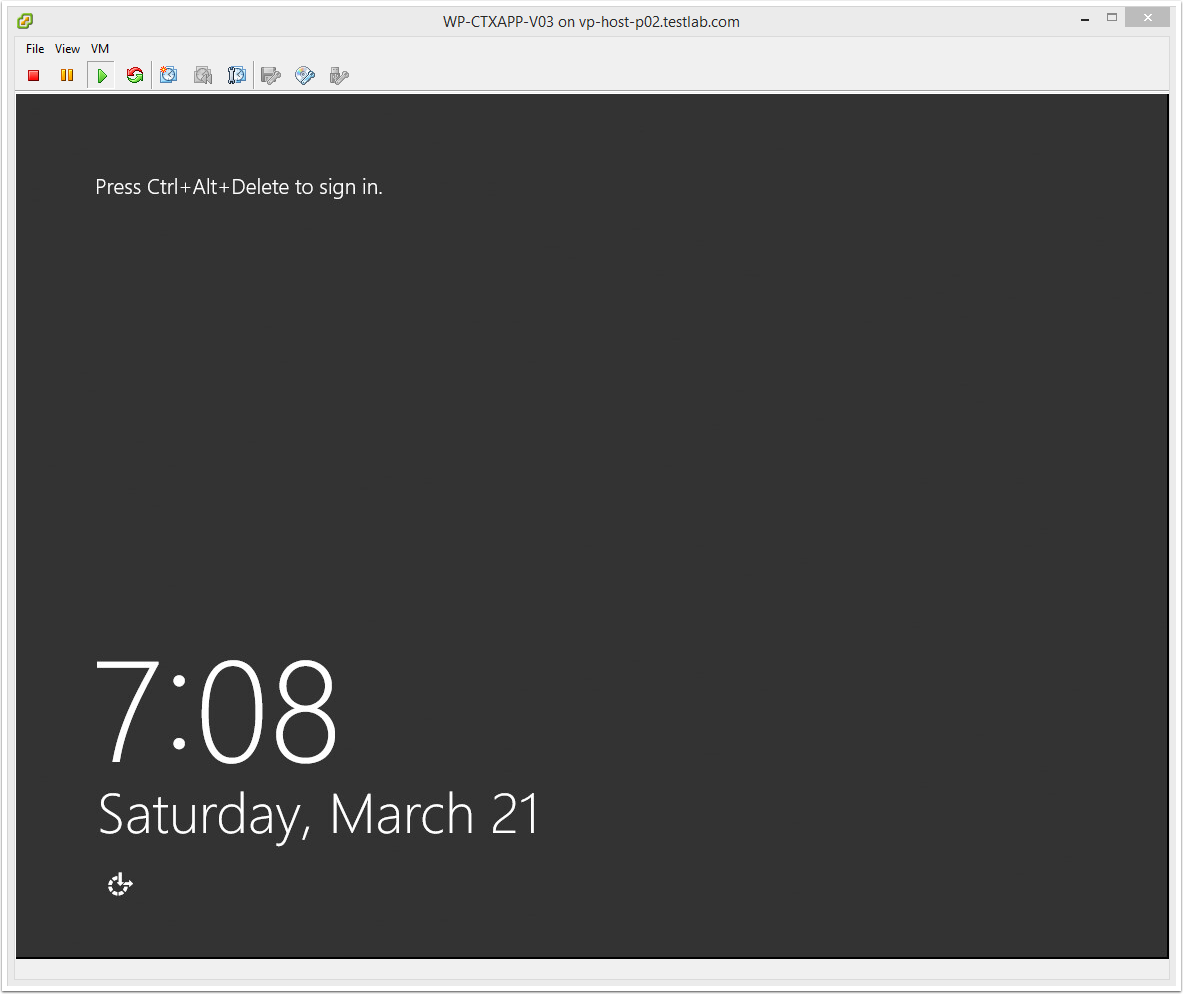
After I booted the new streamed target I get the trust relationship failed error.
I think that has to do with the Computer Account password change not being handled by Citrix PVS. To do this, you need to first configure Provisioning Services to handle AD computer account changes and then you will need to add a registry key to your master image to prevent Windows from handling the password change.
I do this via Group Policy and is documented in Part 5 of the PVS Install Guide. You can check it out here >>> (Citrix PVS 7.6 Install – Part 5: Group Policy for PVS Target Devices)[https://9to5it.com/citrix-pvs-7-6-install-part-5-group-policy-for-pvs-target-devices/].
Hope this helps
Luca
When I boot up the second target device, it says it connects to the PVS server, it finds the virtual disk and the “Starting Windows” screen starts in Windows 7 but then it just reboots. It is a continuous loop of the same thing. I did create the GPO in Part 5. Any ideas?
I have a little more information. I recorded the boot up and I see a message pop up quickly after the “Starting Windows” screen and the boot up begins. The message states “Error: BNISTack failed, network stack could not be initialized”. I’m not sure what I am doing wrong. I googled the error and the one thing I came across was making sure you delete any ghost network devices in Device Manager. I didn’t see any. Any clue what to do next?
Hi rapidcitygator,
Glad that the Citrix PVS 7.6 install guide has been helpful. Ghost network adapters are actually hidden, and you need to show them in order to be able to see them and remove them. A while back I created a step-by-step guide on how to do this. You can find it here >> Removing Ghost Network Adapters.
Hope this fixes the issue.
Luca
Hi
I flowed the tutorial and successfully started a target machine on VMware.
But as i started to boot a real physical laptop from Citrix it hanged up.
I added my laptop to collection and it can boot from PVS. but after windows loader starting the blue screen appear and says your computer ran into problem and needs to restart.
there is detail on this screen but as it restart very fast i can not capture it.
how i can solve this problem?
Hi Farid,
Good to hear everything is working in VMware. The reason why you are having this issue is because your laptop has different hardware from the VMware virtual machine and therefore there are no drivers for your laptop.
Hope that helps
Luca
I am getting invalid boot sector when I build a machine and try to boot it