We are now at the stage where we are ready to capture the PVS image. In order to do so however, there is some preparation that needs to be completed first. This includes creating a Provisioning Services Target Device object for the capture VM and then installing and configuring the PVS Target Device software that will be used to capture the image. To do this, complete these steps:
Citrix PVS 7.6 Install – Part 6: Preparing for Image Capture
This is part 6 in the Citrix Provisioning Services 7.6 installation and configuration guide. In this article we look at installing the Citrix PVS Target Device software on the capture VM so that we can capture a new image.
Quick Links
Here are the links to each of the articles that make up this series:
- Citrix PVS 7.6 Install & Configuration Guide – Introduction
- Citrix PVS 7.6 Install & Configuration Guide – Part 1: Installing PVS Server
- Citrix PVS 7.6 Install & Configuration Guide – Part 2: Configuring PVS Server
- Citrix PVS 7.6 Install & Configuration Guide – Part 3: Configuring DHCP for Citrix PVS PXE
- Citrix PVS 7.6 Install & Configuration Guide – Part 4: Creating a Capture VM
- Citrix PVS 7.6 Install & Configuration Guide – Part 5: Group Policy for PVS Target Devices
- Citrix PVS 7.6 Install & Configuration Guide – Part 6: Preparing for Image Capture
- Citrix PVS 7.6 Install & Configuration Guide – Part 7: Capturing the PVS Image
- Citrix PVS 7.6 Install & Configuration Guide – Part 8: Installing Virtual Delivery Agent on the PVS Image
- Citrix PVS 7.6 Install & Configuration Guide – Part 9: Preparing for Production use
- Citrix PVS 7.6 Install & Configuration Guide – Part 10: Creating new PVS Target Devices
- Citrix PVS 7.6 Install & Configuration Guide – Part 11: Creating a PVS-Enabled Machine Catalog
- Citrix PVS 7.6 Install & Configuration Guide – Part 12: Creating a Delivery Group
- Citrix PVS 7.6 Install & Configuration Guide – Part 13: Testing Published Applications
Step-by-Step Guide
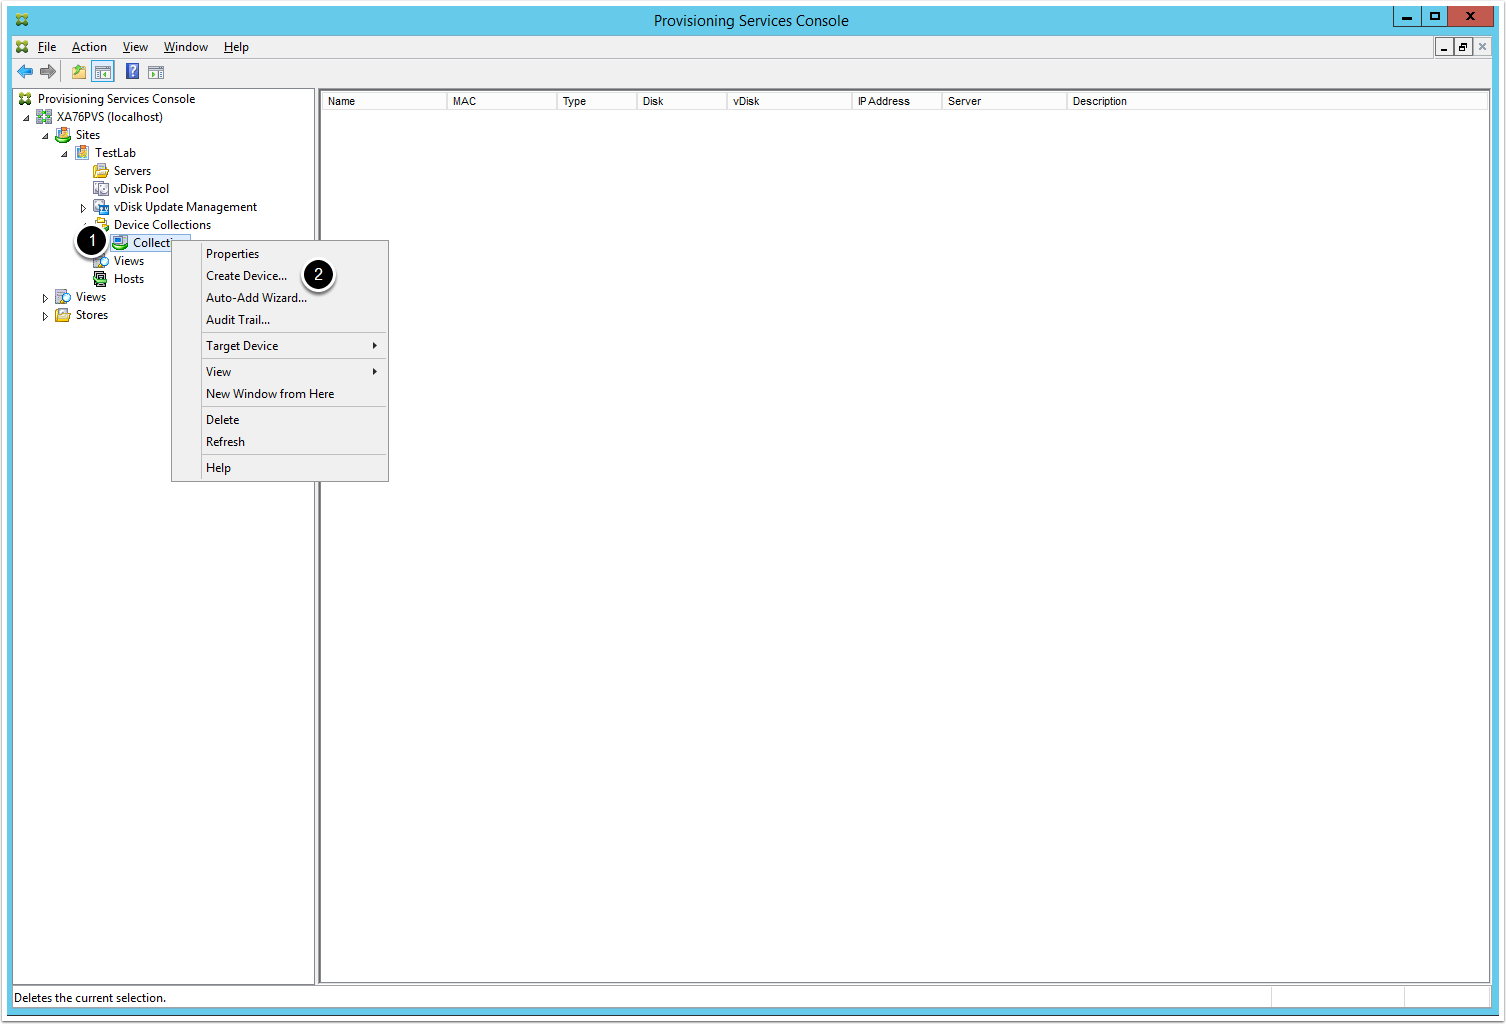
1. Log into the Citrix PVS 7.6 server and launch the Provisioning Services Console
2. Create a new PVS Target Device for the Captuer VM by completing the following:
- Navigate to Device Collections (Sites >> TestLab >> Device Collections
- Right-click on the Collection and select Create Device
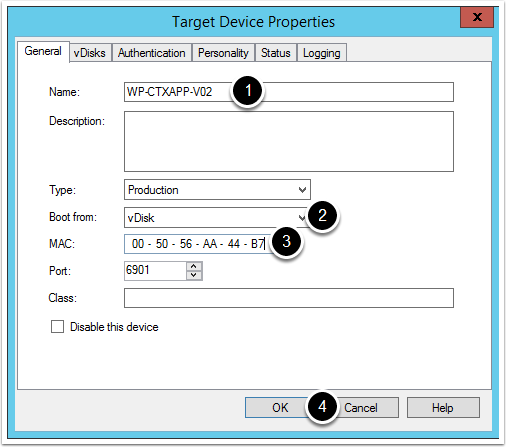
3. From the window that appears, enter the following information:
- Name of the PVS Target Device (i.e. WP-CTXAPP-V02)
- Ensure the Boot From option is set to vDisk
- The MAC Address of the PVS Capture VM (see Part 4 for when we recorded the MAC Address of the VM)
- Click OK to create the PVS target device
4. Close the PVS Console and log out of the Citrix Provisioning Services 7.6 server
5. Log into the Capture VM (i.e. WP-CTXAPP-V02) as an administrator
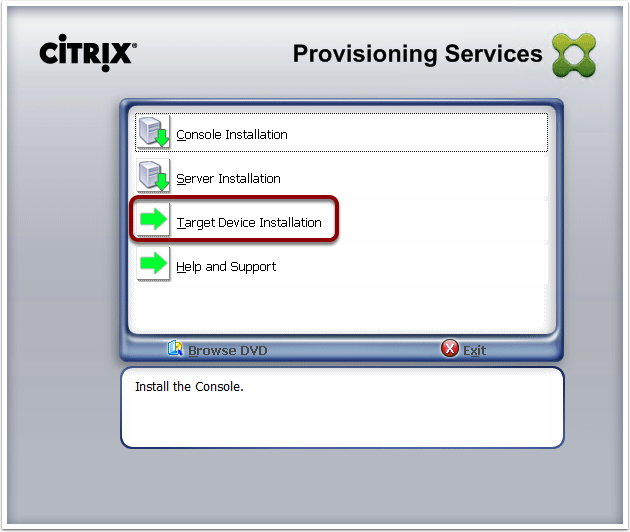
6. Insert the Citrix Provisioning Services 7.6 installation media
7. From the installation media menu, click Target Device Installation
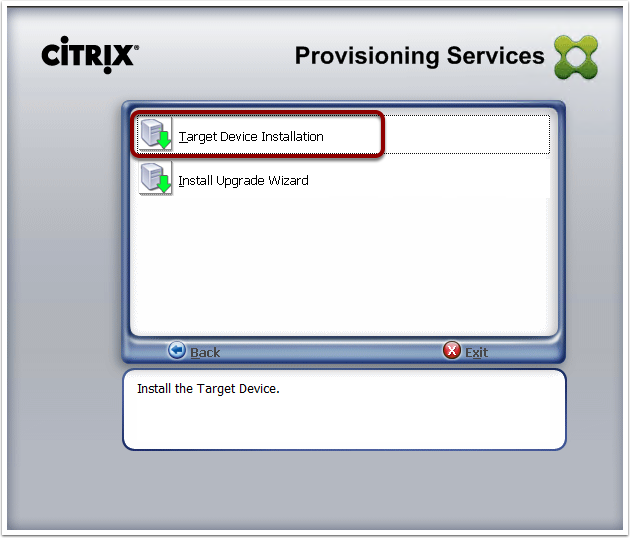
8. From the second menu, select Target Device Installation
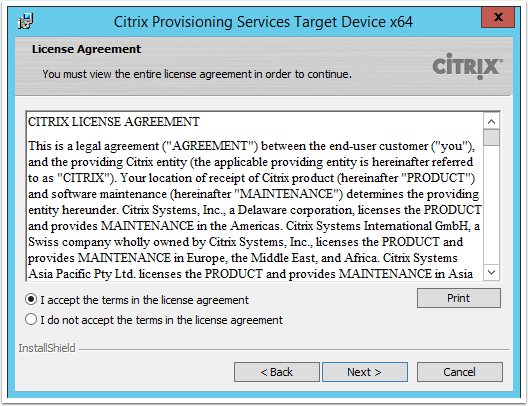
9. The Citrix PVS Target Device install window will appear. Click Next

10. Select I agree and click Next
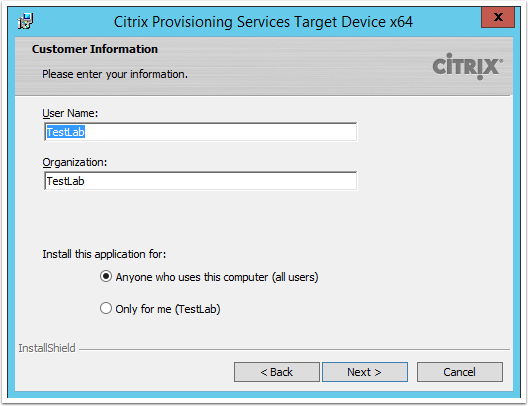
11. Enter the appropriate details and click Next
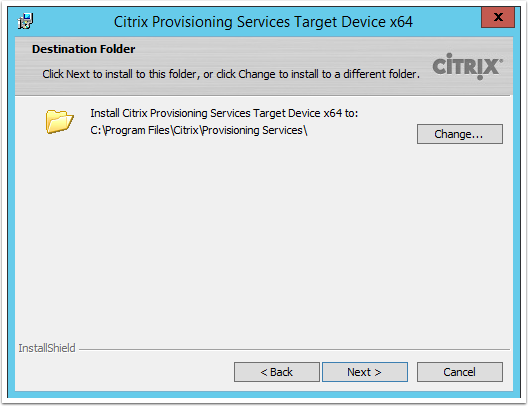
12. Click Next
13. Click Install
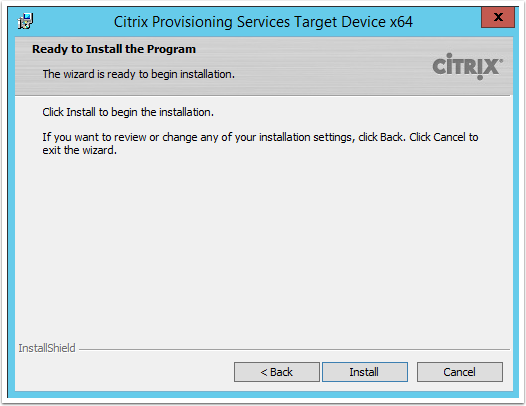
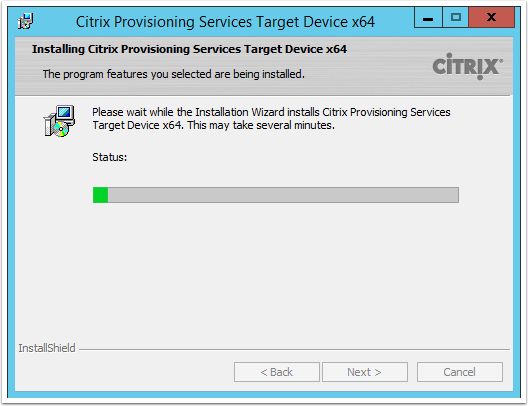
14. The Citrix Provisioning Services Target Device will now install
15. Once completed, click Finish
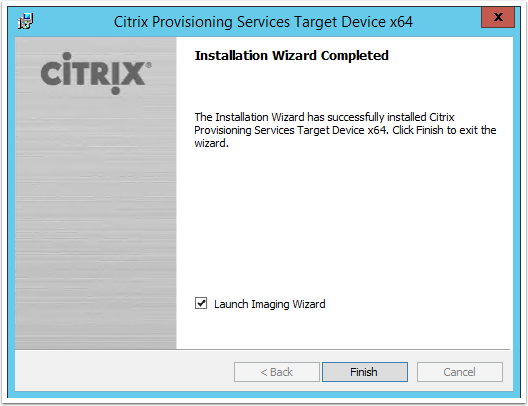
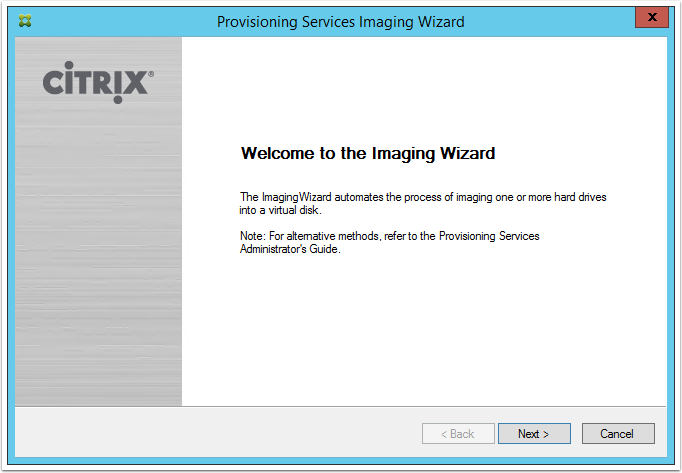
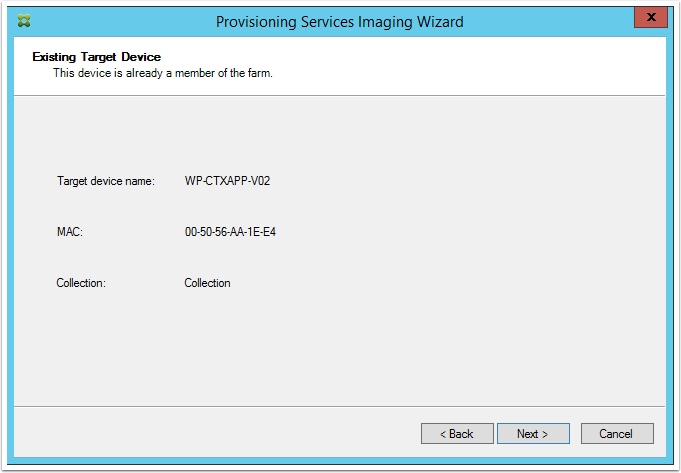
16. The PVS Imaging Wizard will appear. Click Next to commence the capture process
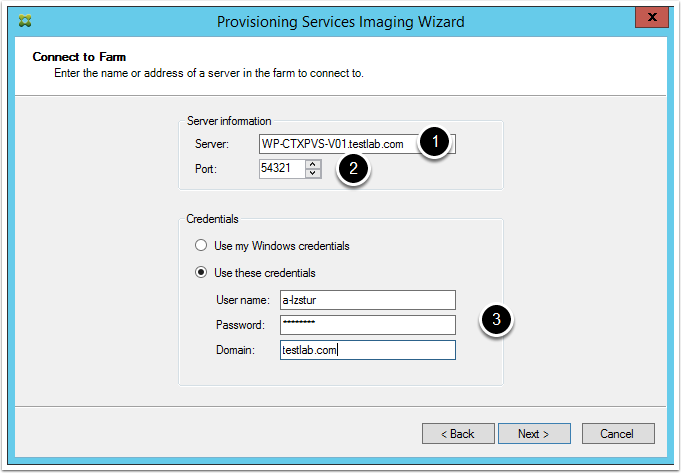
17. Complete the following details and then click Next
- FQDN of the Citrix PVS server (i.e. WP-CTXPVS-V01.testlab.com)
- Leave the default port
- Enter Citrix PVS administrator credentials
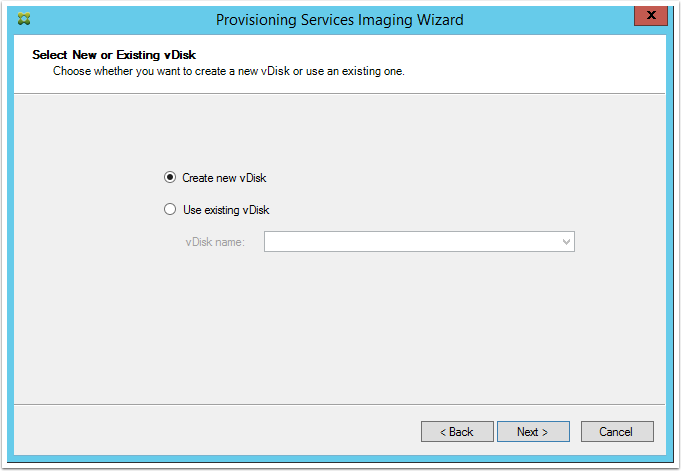
18. Select Create new vDisk and click Next
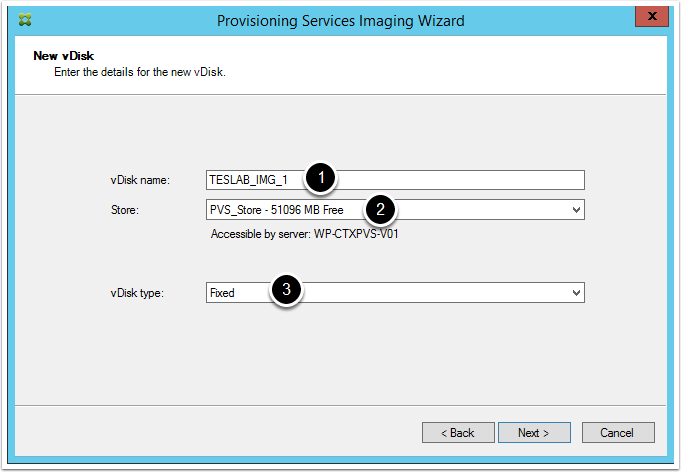
19. Complete the following and then click Next
- Enter a name for the captured image
- Select the Store (if you followed this guide then you will only have one store to select from)
- Set the vDisk type to Fixed
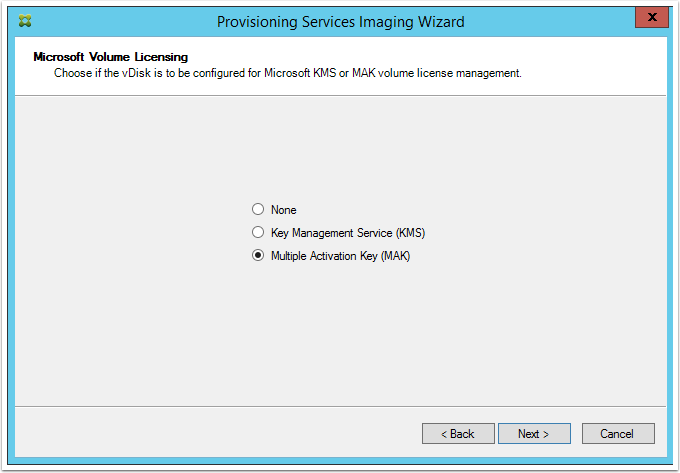
20. Select the appropriate Window licensing model for your environment and click Next
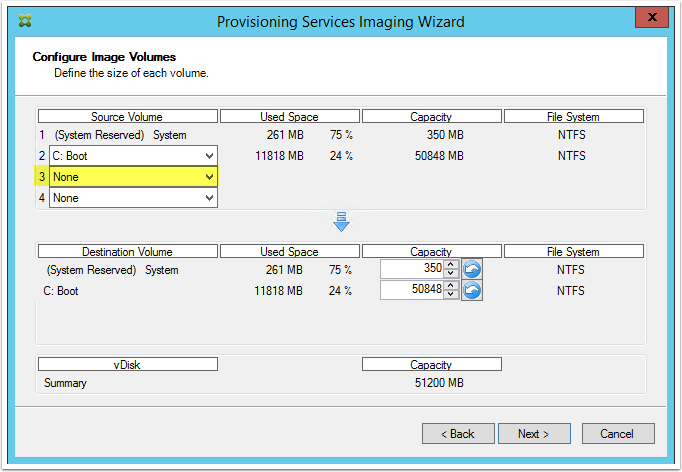
21. Select what drives will be captured as part of the image and then click Next
Note: This screen defines what will be captured in the PVS image and what won’t. In our example, we are using D:\ drive as the local drive that will attached to each PVS target device and therefore we do not want it to be captured. For this reason change item 3 in the list to None.
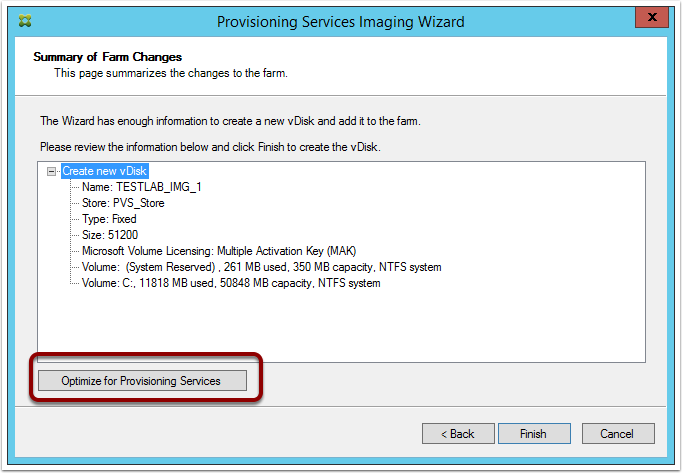
22. Click Next
23. Click the Optimize for Provisioning Services button
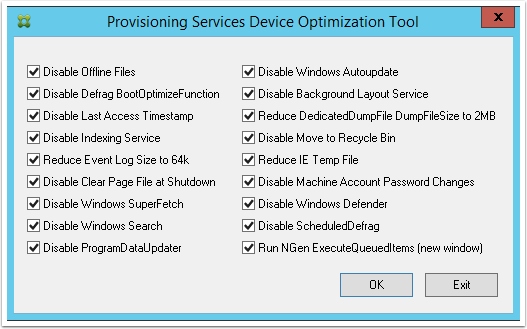
24. From the window that appears, select all options and click OK
Note: This will optimise your the capture VM (and hence the soon to be captured image) with a number of Citrix best practises to ensure you get the best performance and best experience when deploying the PVS image to target devices.
In previous version of Provisioning Services this would be a script that was run manually, however Citrix have now included it for us to run as part of the capture process. Very nice!
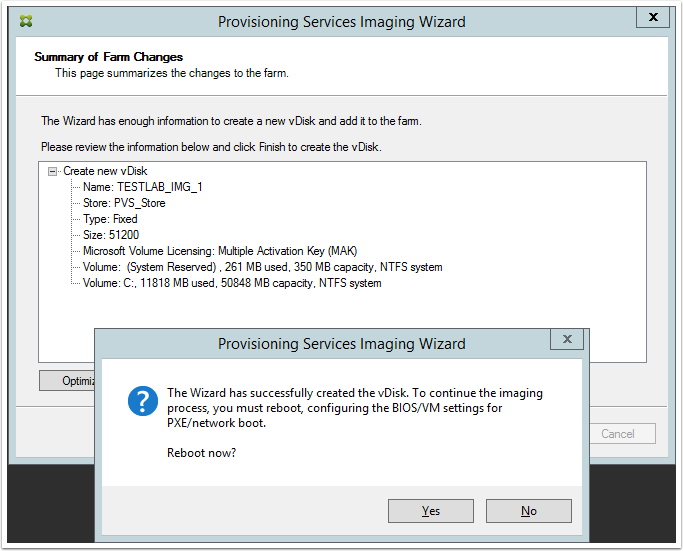
25. Once the capture VM has been optimized, you can now click Finish
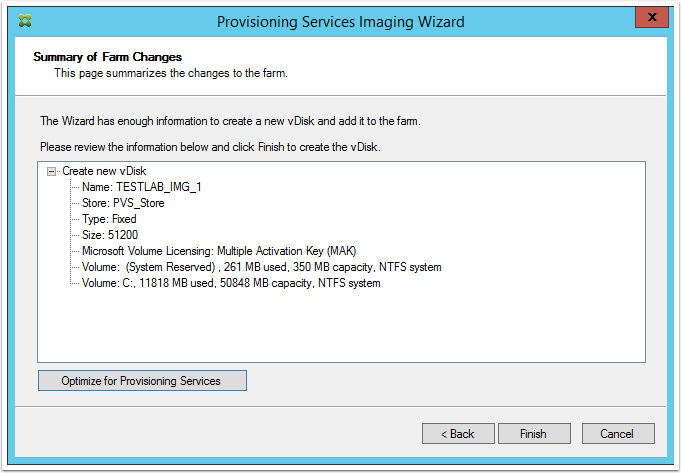
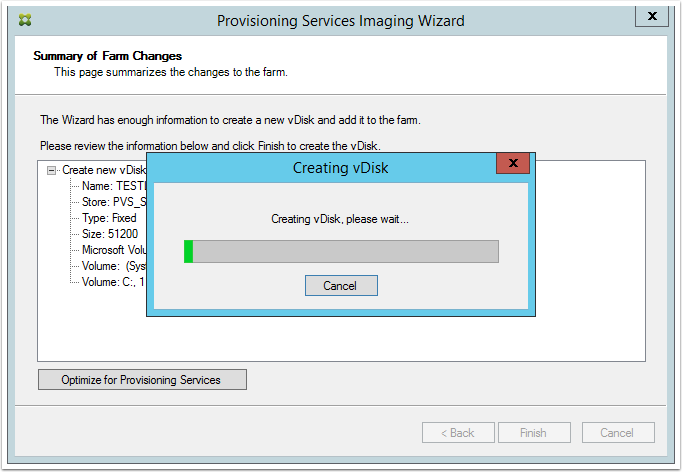
26. Provisioning Services will now create the vDisk on the PVS Store on the PVS server
27. Once completed, you will be prompted to reboot. Click No and instead power off the VM
Next article…
The next article coming up in the series is: Citrix PVS 7.6 Install & Configuration Guide – Part 7: Capturing the PVS Image.
Dear Luca,
first of all congratulations for this very useful guide .
During my lab test in the fase of Imaging Wizard , i encounter a problem like this : “vDisk is not available. Please check your network PXE boot configuration and restart Imaging Wizard” . see this like for more info http://support.citrix.com/article/CTX133272.
In my humble opinion i suspect that the problem is in the configuration of PVS Target Device , where you set the “Boot From” option vDisk.
At this stage the vDisk is empty and the Provisioning Image Wizard cannot boot from a Vdisk nor continue to the image capture process.
Could be that the option “Boot From” should be set to “Hard Disk” for the image capture process ?
I’ll give it a try and let you know.
Best Regards
Christian
Hi Christian,
I am pretty sure this worked for me, however when I get a chance I will test it out and let you know for sure.
Thanks for the comment though and letting me know.
Regards,
Luca
Hi Luca, ik you want to optimize your performance from the vdi in what stage you will use a SSD to use a personal vdisk? (where to configure this?)
Hi VR,
I am not sure what you mean by this? The machine is captured as an image and streamed from the PVS machine to your target machines. There is no requirement for SSD on any of your target machines.
I guess the only thing I can think of that you mean by SSD would be as the storage location for your PVS image? In that case you would at least want to make sure you are using some type of redundancy – like RAID 1, RAID 5, etc…
Hope this helps.
Luca
nice article. dj master luis
Why is it that you are choosing Fixed instead of Dynamic. In general like to maximize our space, it even says dynamic recommended. Is it really that bad of a performance hit? Granted I am setting up lab on 7.9 so maybe it has changed?
Hi Jeff,
I was always under the impression that fixed disk is best practise and better for performance, however you are most likely correct, nowadays dynamic would be more or less the same performance. In my personal opinion however, I still prefer fixed for PVS images, but I guess it is really up to you.
Luca
Hi,
In the above article, PVS target device MAC and the imaging wizard MAC is different, both are referring to the same name WP-CTXAPP-V02.
Thanks,
Srini
Hi Srini,
Sorry about that, but I had to retake a few screenshots and hence why they are different. You are correct, they should be the same in real life.
Thanks
Luca
Does this apply to Version 7.13 as well ? I am trying similar steps but getting too many errors. Mainly due to D:, It would be great if you could update it with 7.13 version and correct the scrrenshots glitches that only has 1 drive. Thanks
Great Article.